How to Replace the Speed Knob/Rotary SwitchUpdated a month ago
Tools Required:
- Screwdriver with Torx 10 (T10) tip (Use adjustable torque if electric)
- Screwdriver with 3mm flat-tip
⚠️ Ensure that re:Mix is unplugged from the socket, electric shock risk
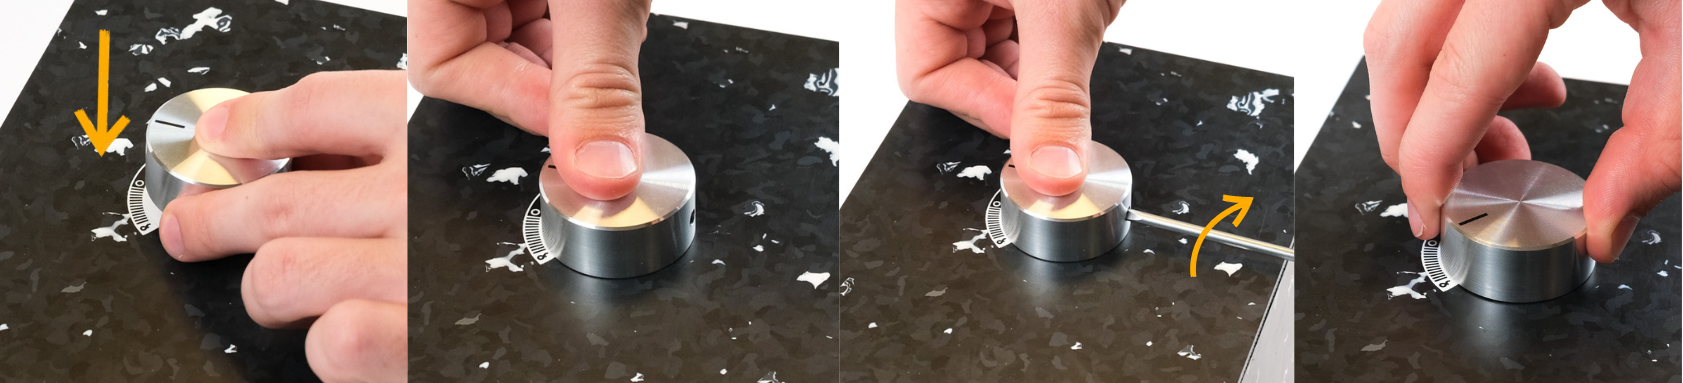
1. Lay the re:Mix on it's back (with the knob facing top).
2. Spot the hole on the right of the knob and with the flat tip screw driver gently unscrew it.
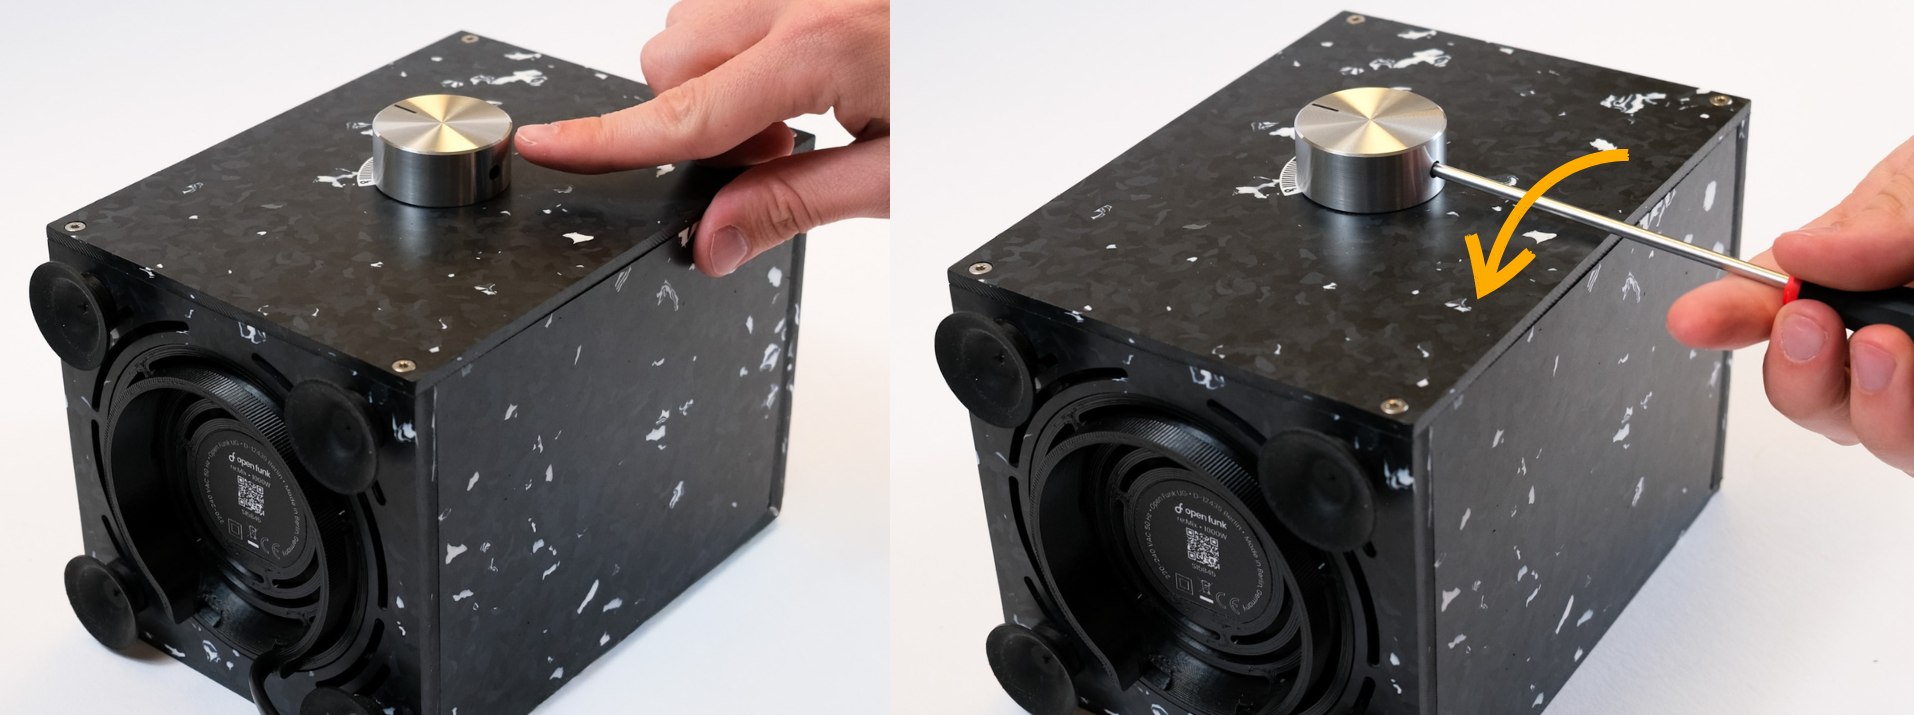
3. Once loose enough, pull the knob out to discover the tip of the rotary switch.
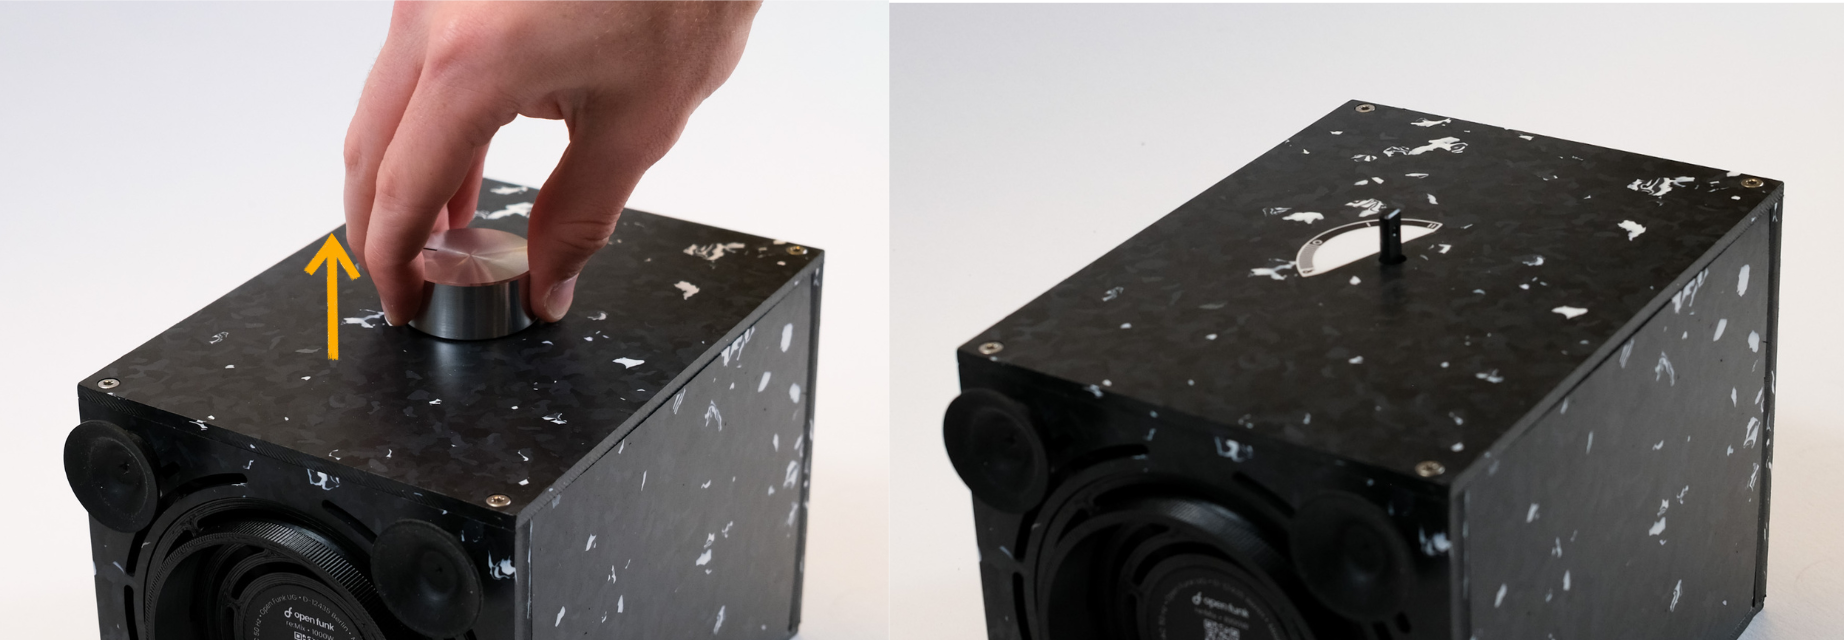
If just replacing the speed knob, push the new knob in with the black line facing the 0 on the speed sticker and screw it back in, turn to test.
.png)
If replacing the rotary switch:
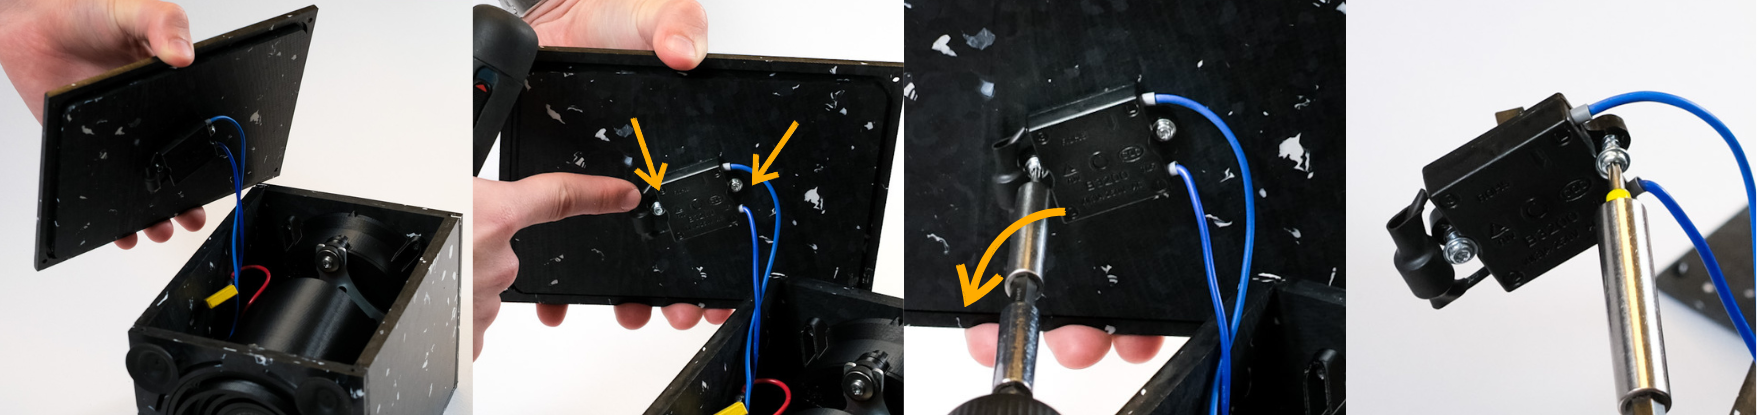
4. Unscrew the four edge screws on the front panel and gently turn it around
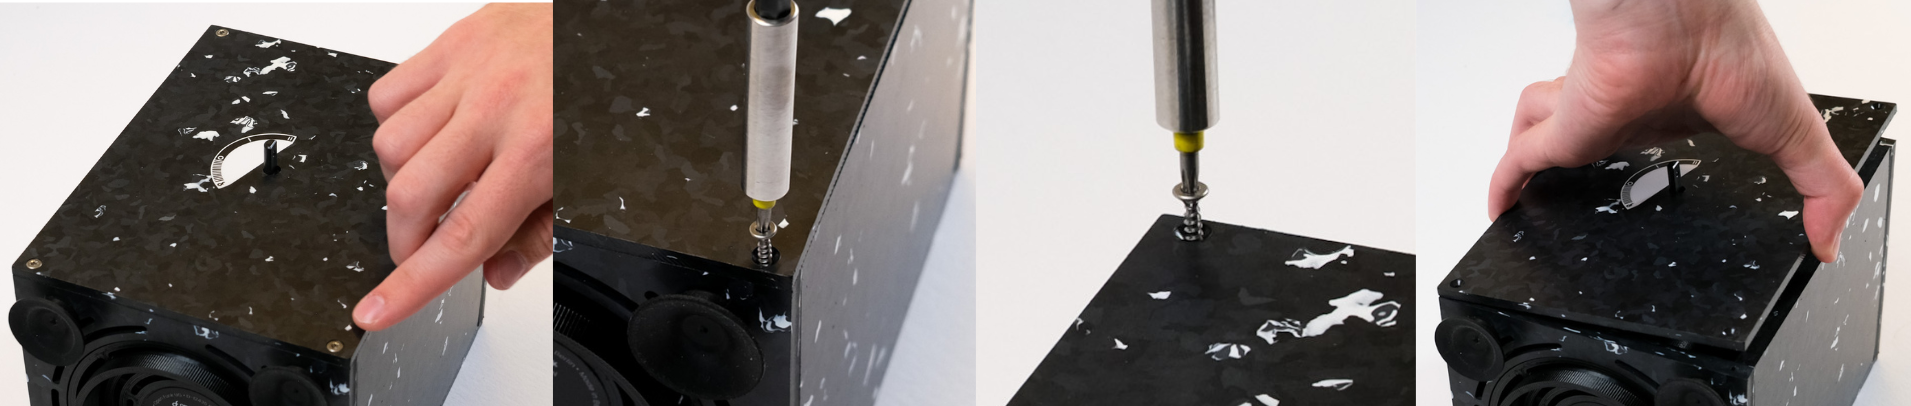
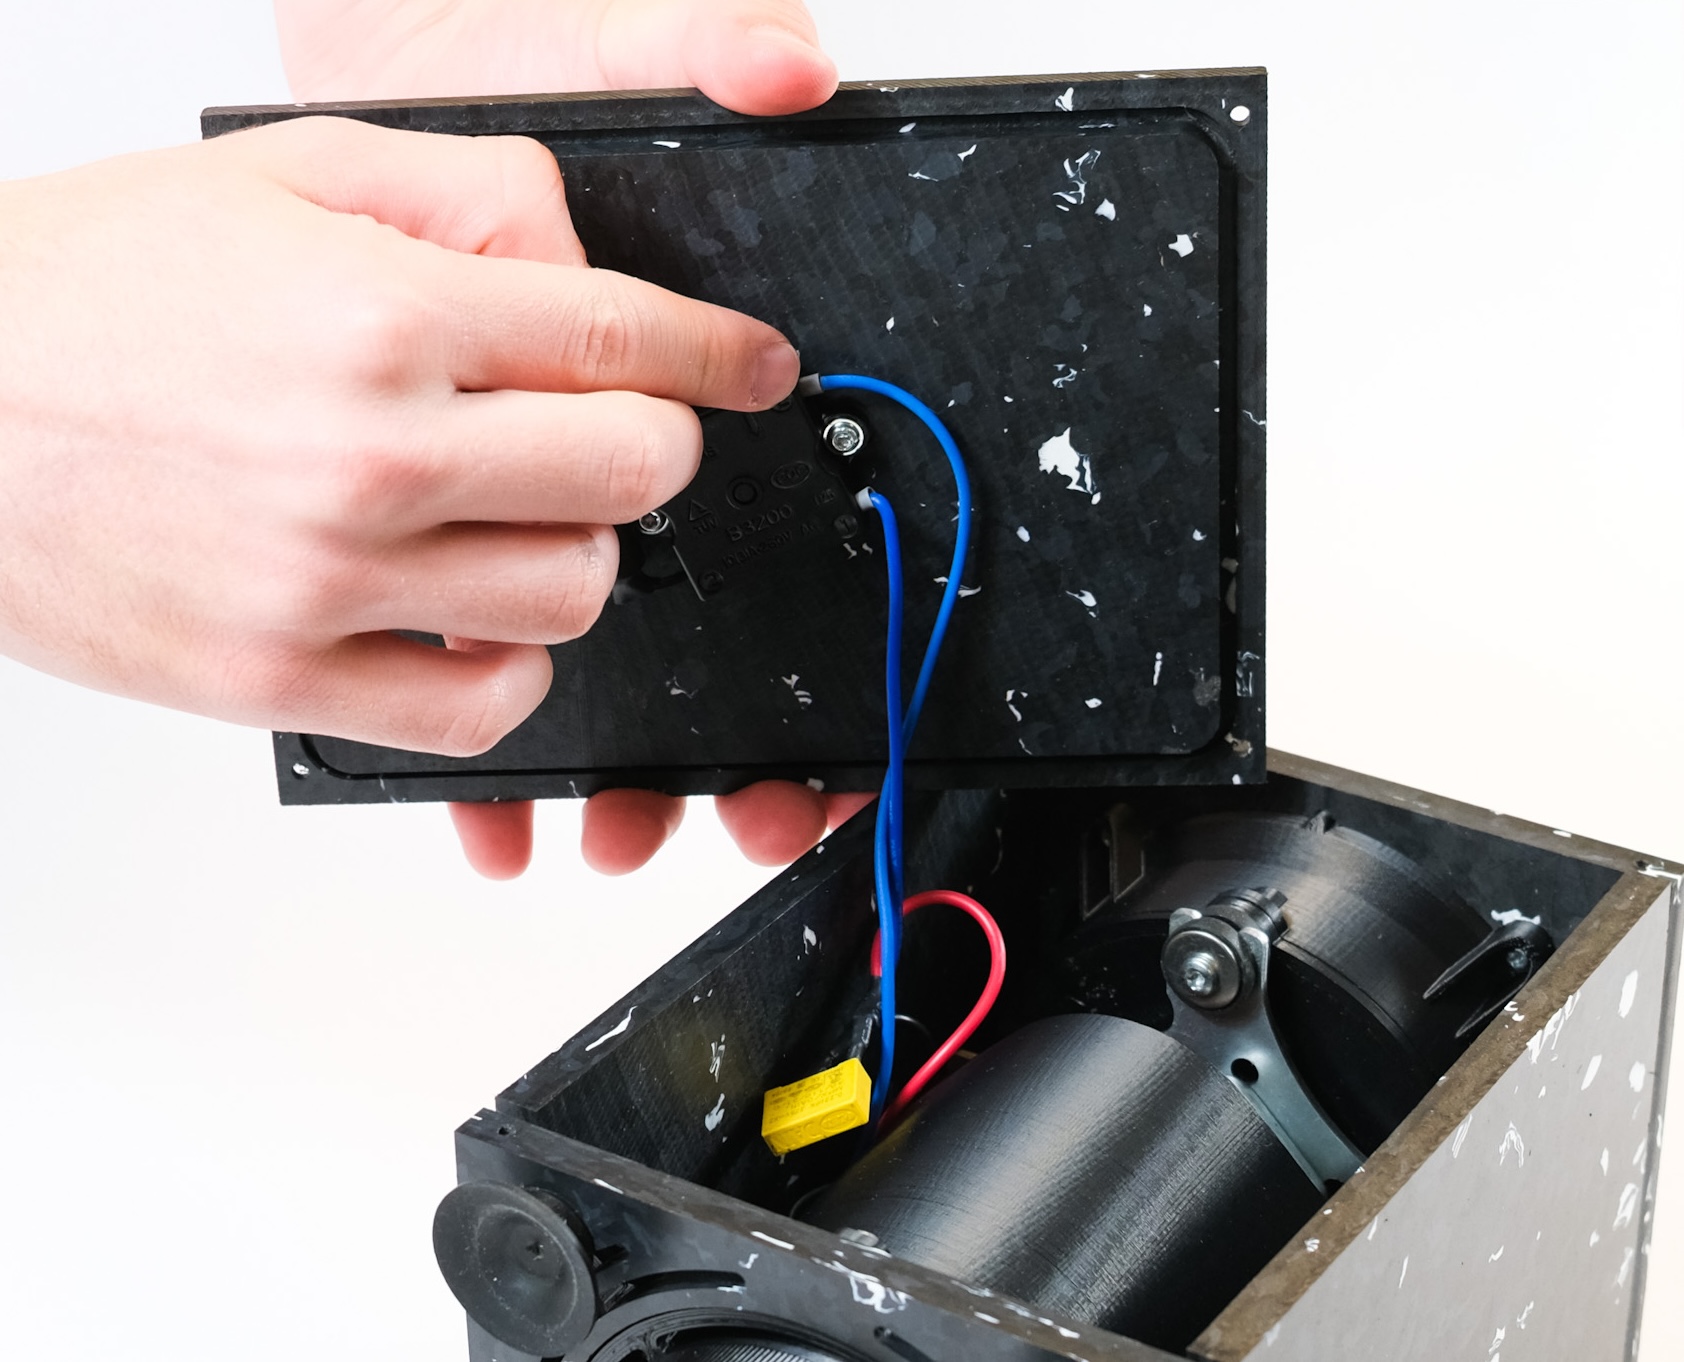
5. Behind the front panel and unscrew the two screws attaching the switch to the panel.
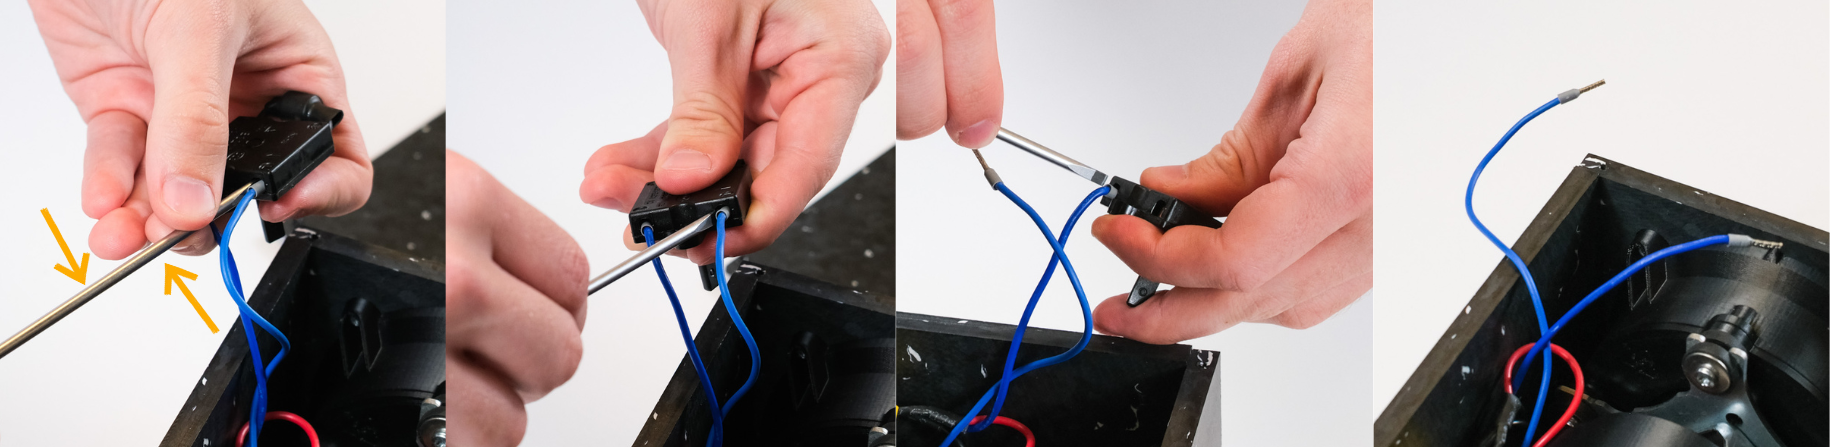
6. Pull the rotary switch out and insert the flat tip screwdriver next to the the blue wires and gently wiggle the blue wires free.
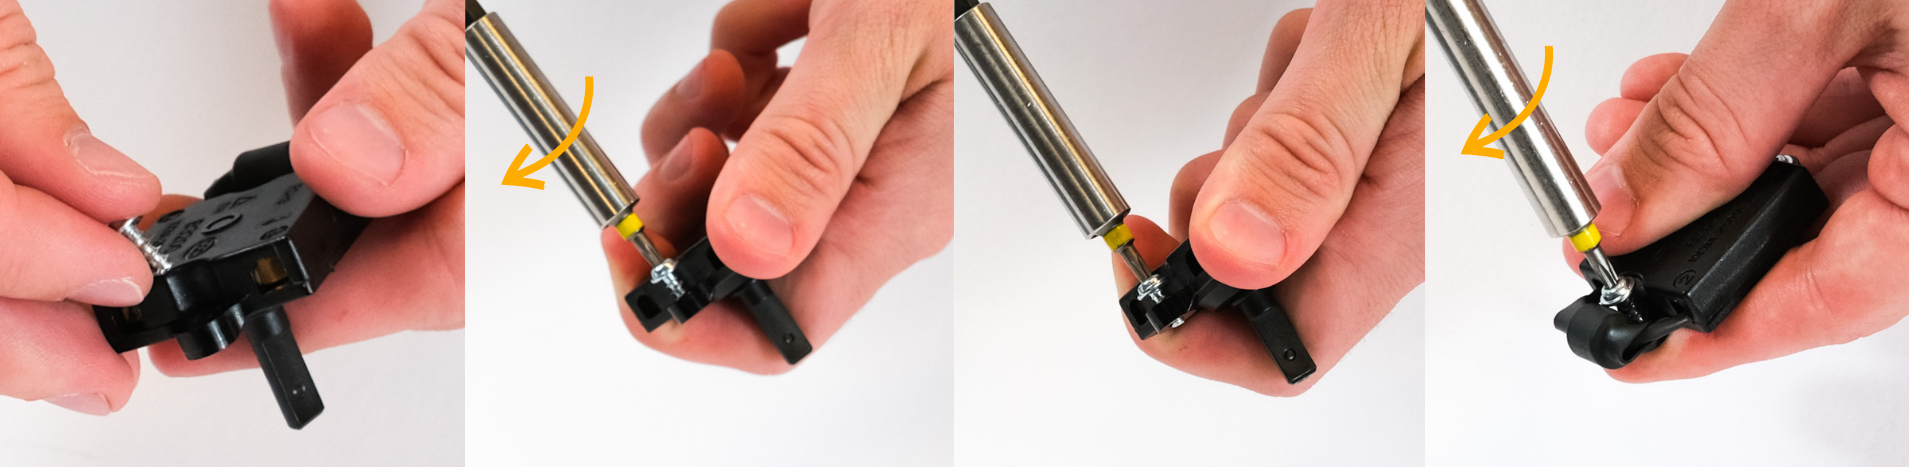
7. Using the new rotary switch and reused screws tighten the screws on the rotary switch.
8. Screw the rotary switch with flat side facing right of the front panel.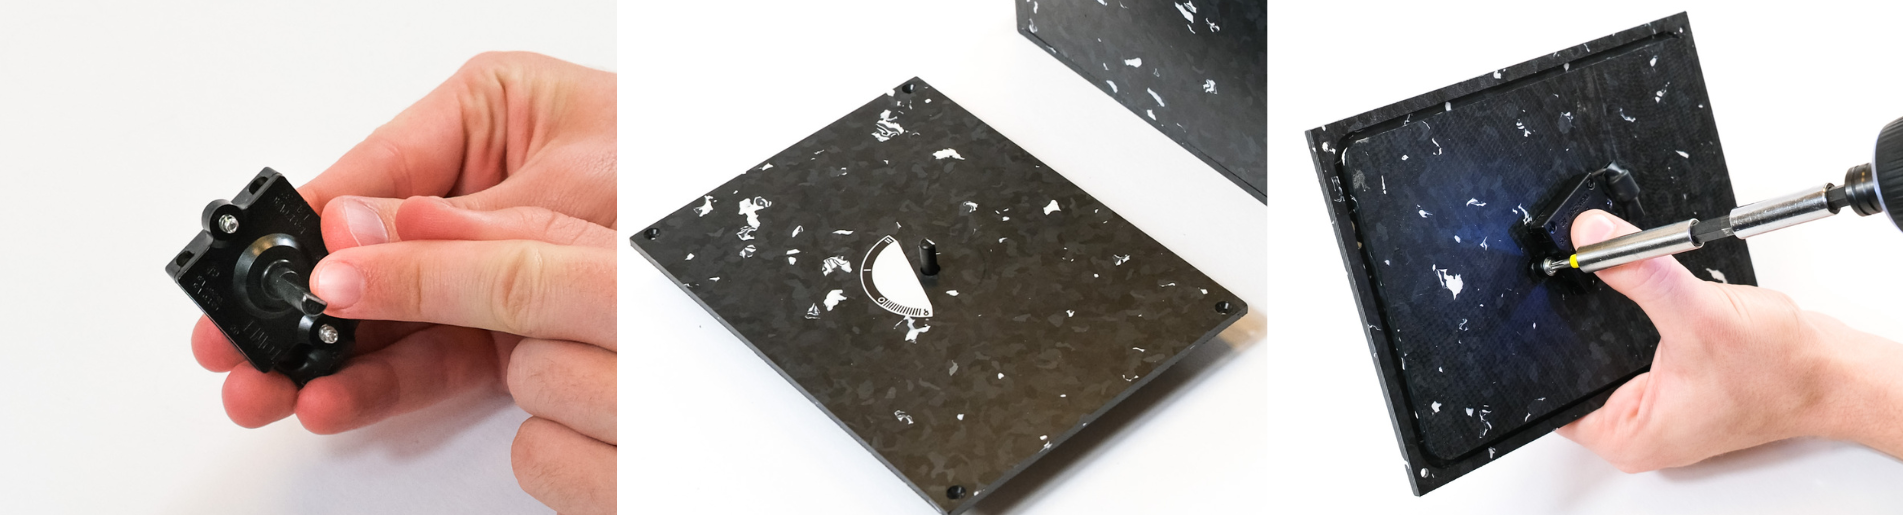
9. Attach the light blue wire to the left top of the rotary switch and the dark blue wire to the right top of the rotary switch.
10. Place the panel back on and screw the four edge screws back in.
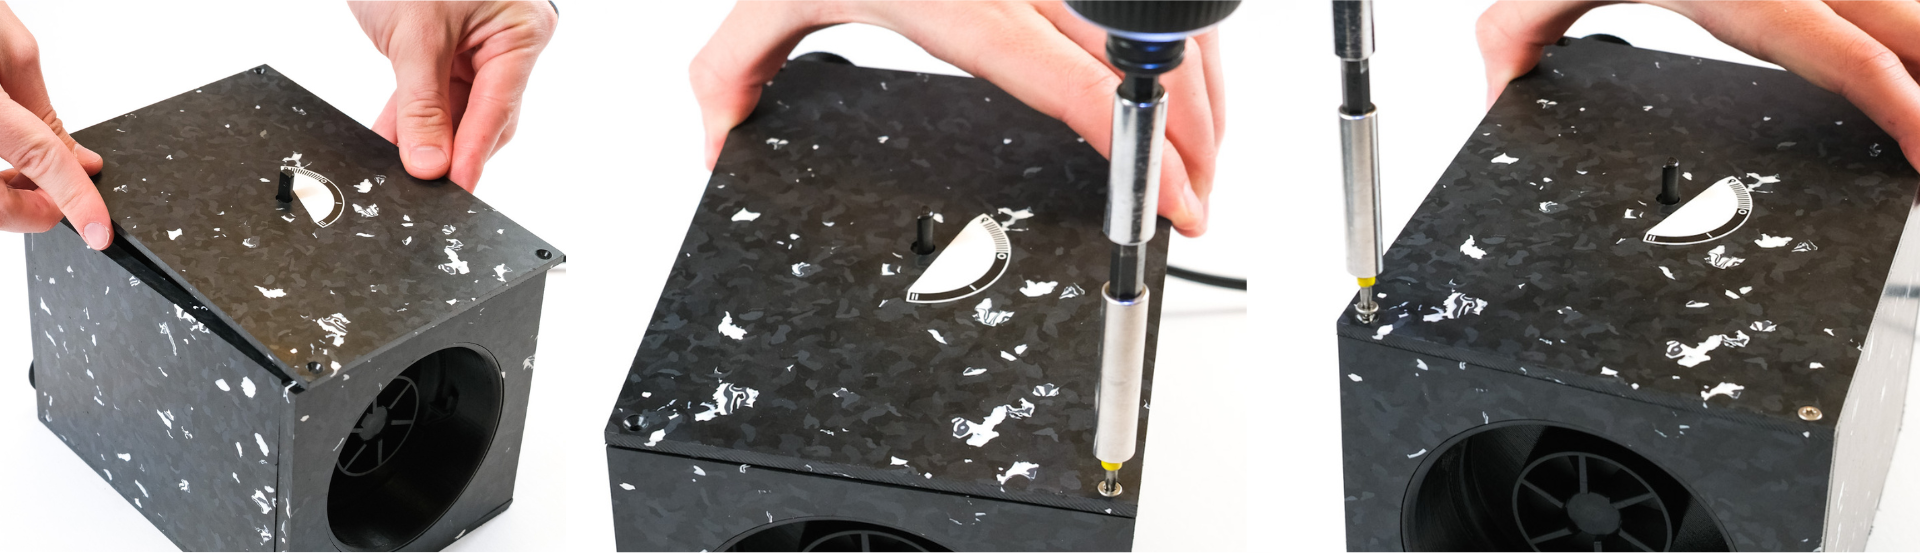
11. Place the knob back in and screw in place, turn to test.