re:Mix Blades Head Disassembly GuideUpdated a month ago
🕑 10 - 15 minutes 🔧 medium - easy
Guide Information
The blades head of the Open Funk re:Mix Blender can be disassembled for cleaning, maintenance, or replacement of individual parts.
This guide walks you through the process step by step.
Before starting, make sure the blender is unplugged from the power source.
Note: The blades are sharp. Handle all parts carefully during disassembly.
After completing the procedure, ensure all parts are clean, properly aligned, and securely reassembled before use.
Tools
- Unlocker
- Phillips screwdriver PH00
Repair Steps
- Step 1 - Remove the Pin
- Step 2 - Remove the Locker
- Step 3 - Remove the Blades
- Step 4 - Remove the Silicone Head Seal
- Step 5 - Unscrew the Stoppers
- Step 6 - Remove the Jar Sliders and Springs
- Cleaning and Inspection
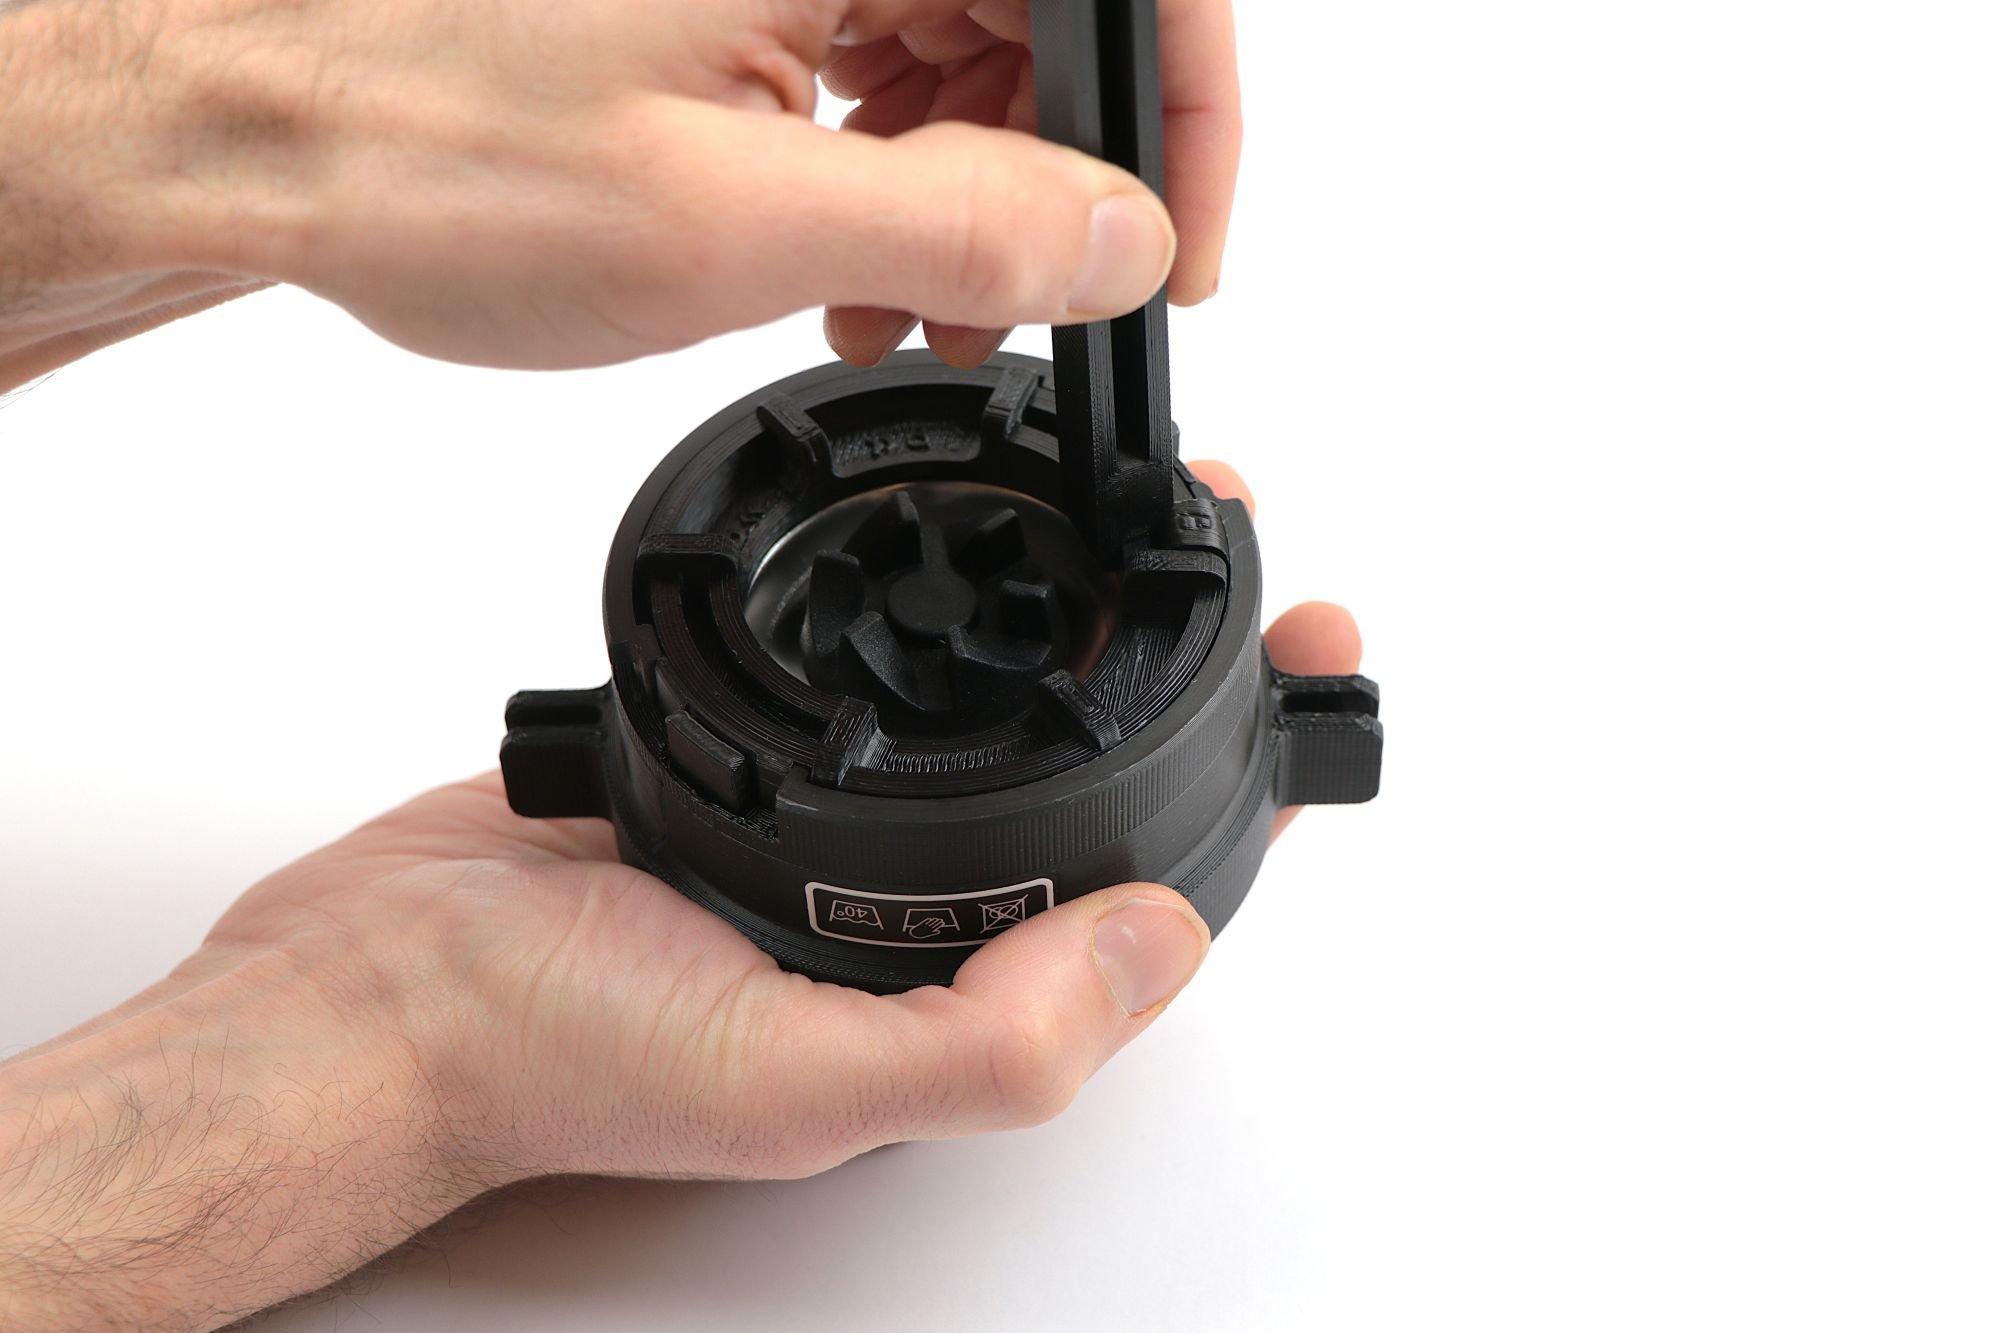
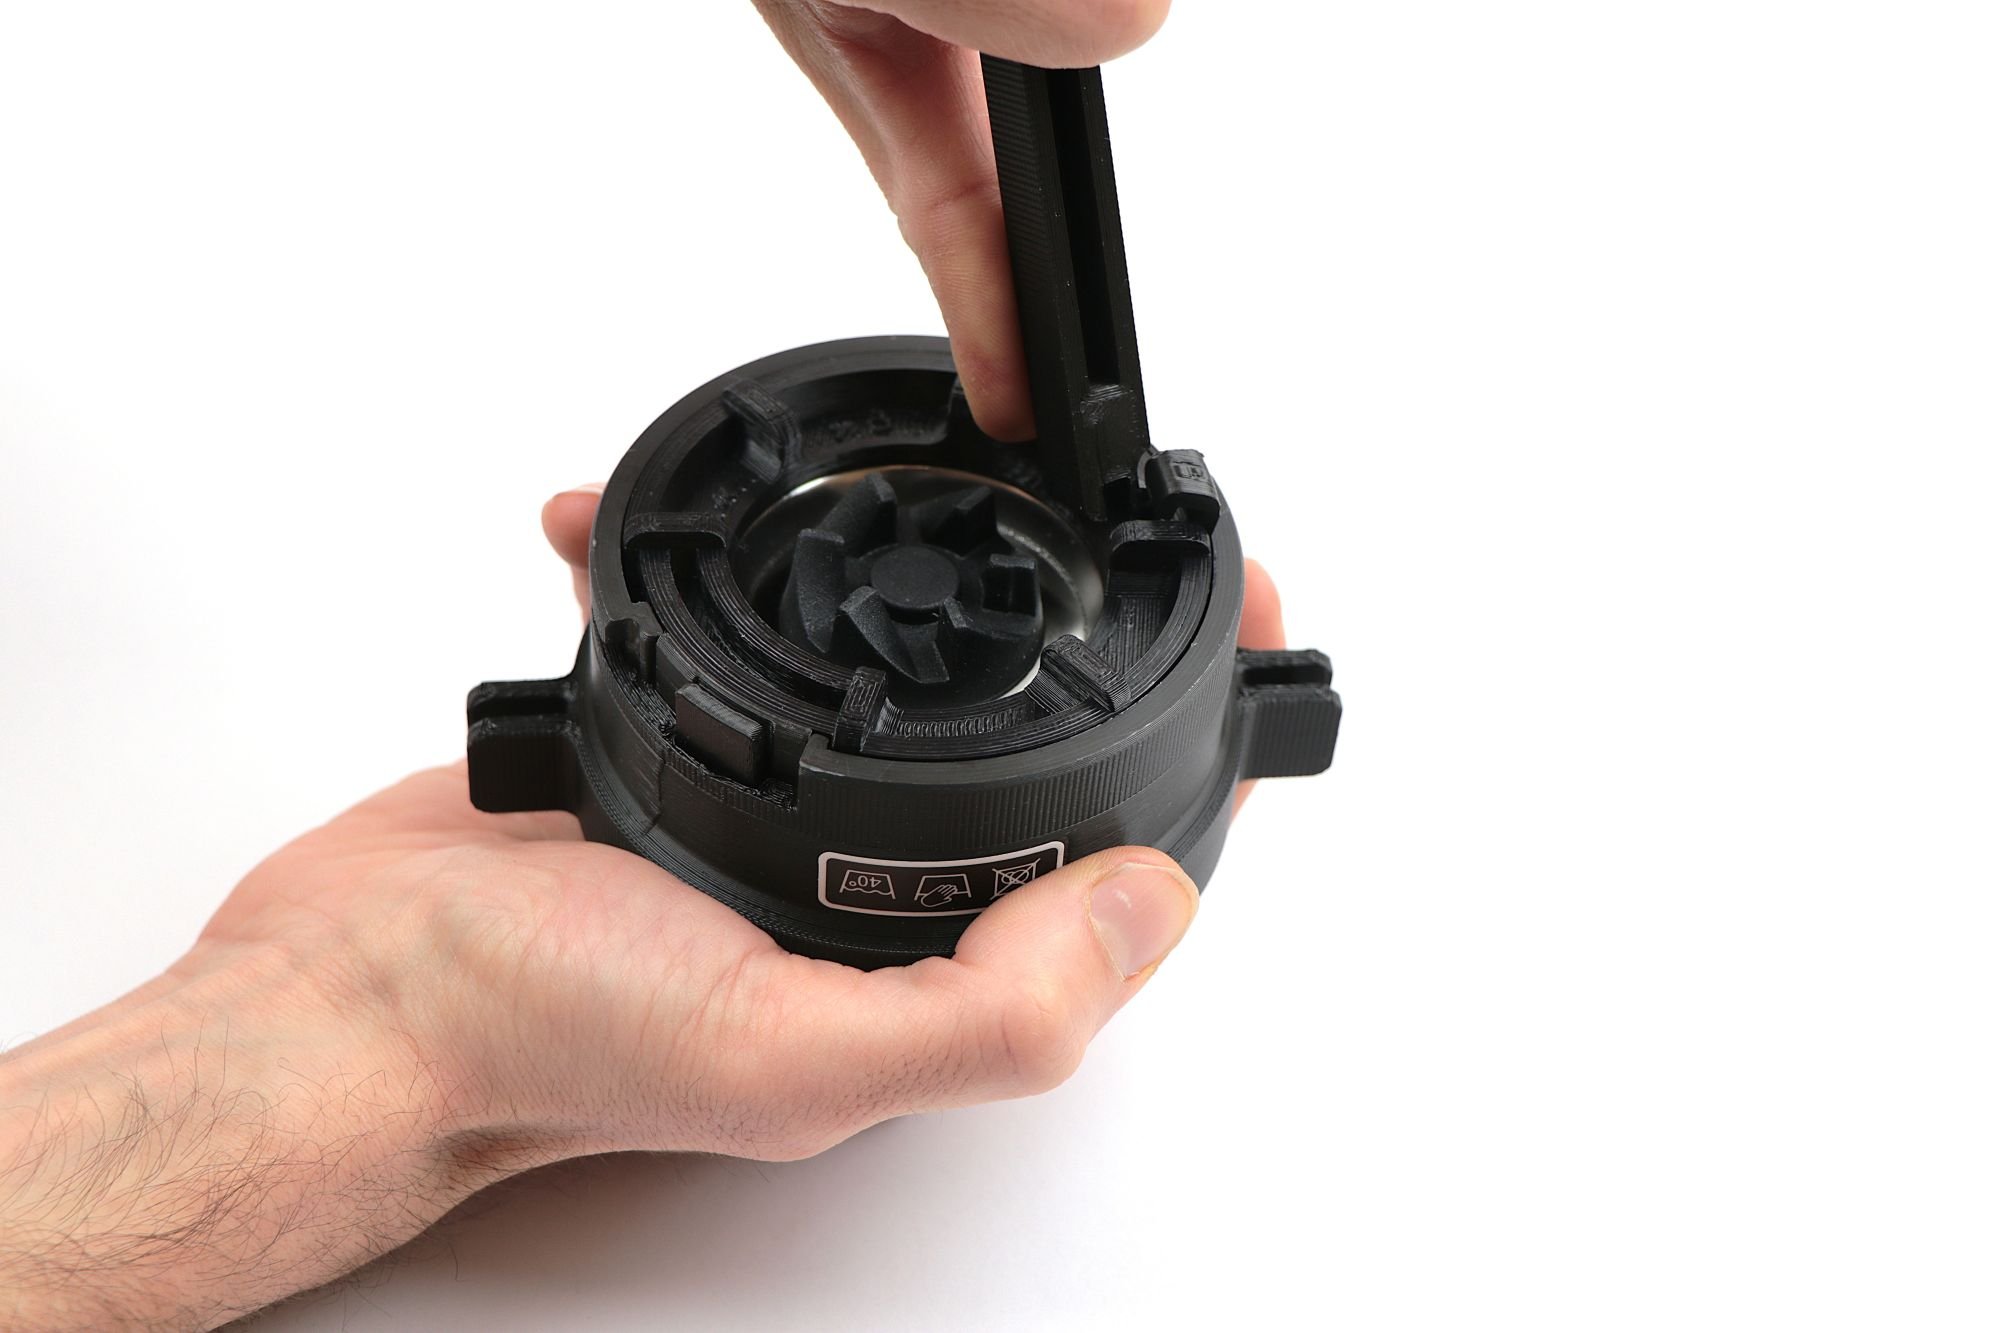
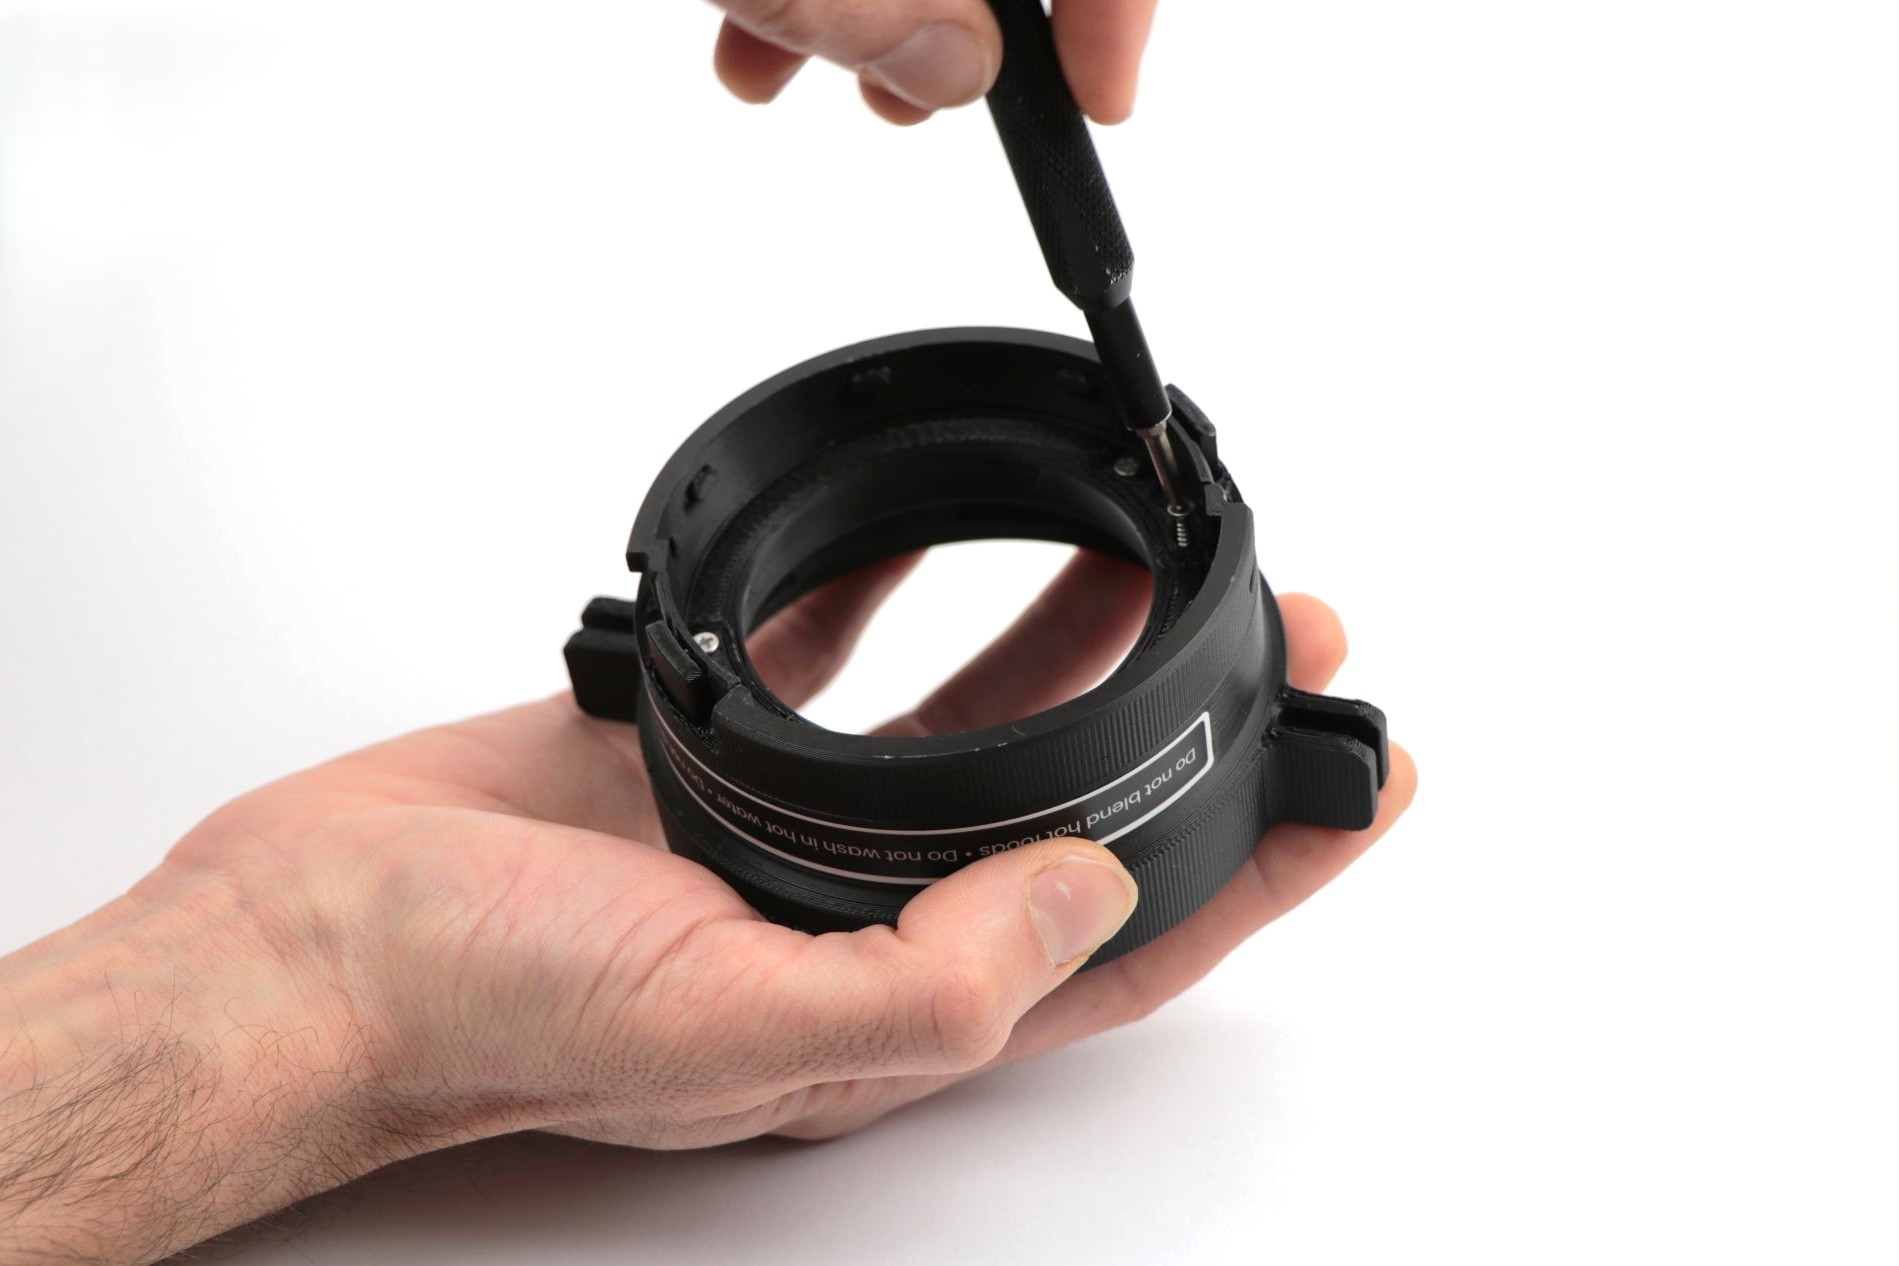
Step 1 - Remove the Pin
- Use the Unlocker: align the side of the tool with the rounded groove on the locking ring.
- Slide the Unlocker underneath the pin carefully.
- Lift the Pin upwards to remove it.
Tip: Make sure the tool side snaps securely in the groove before lifting. This ensures a clean removal without damaging the Pin or surrounding parts.
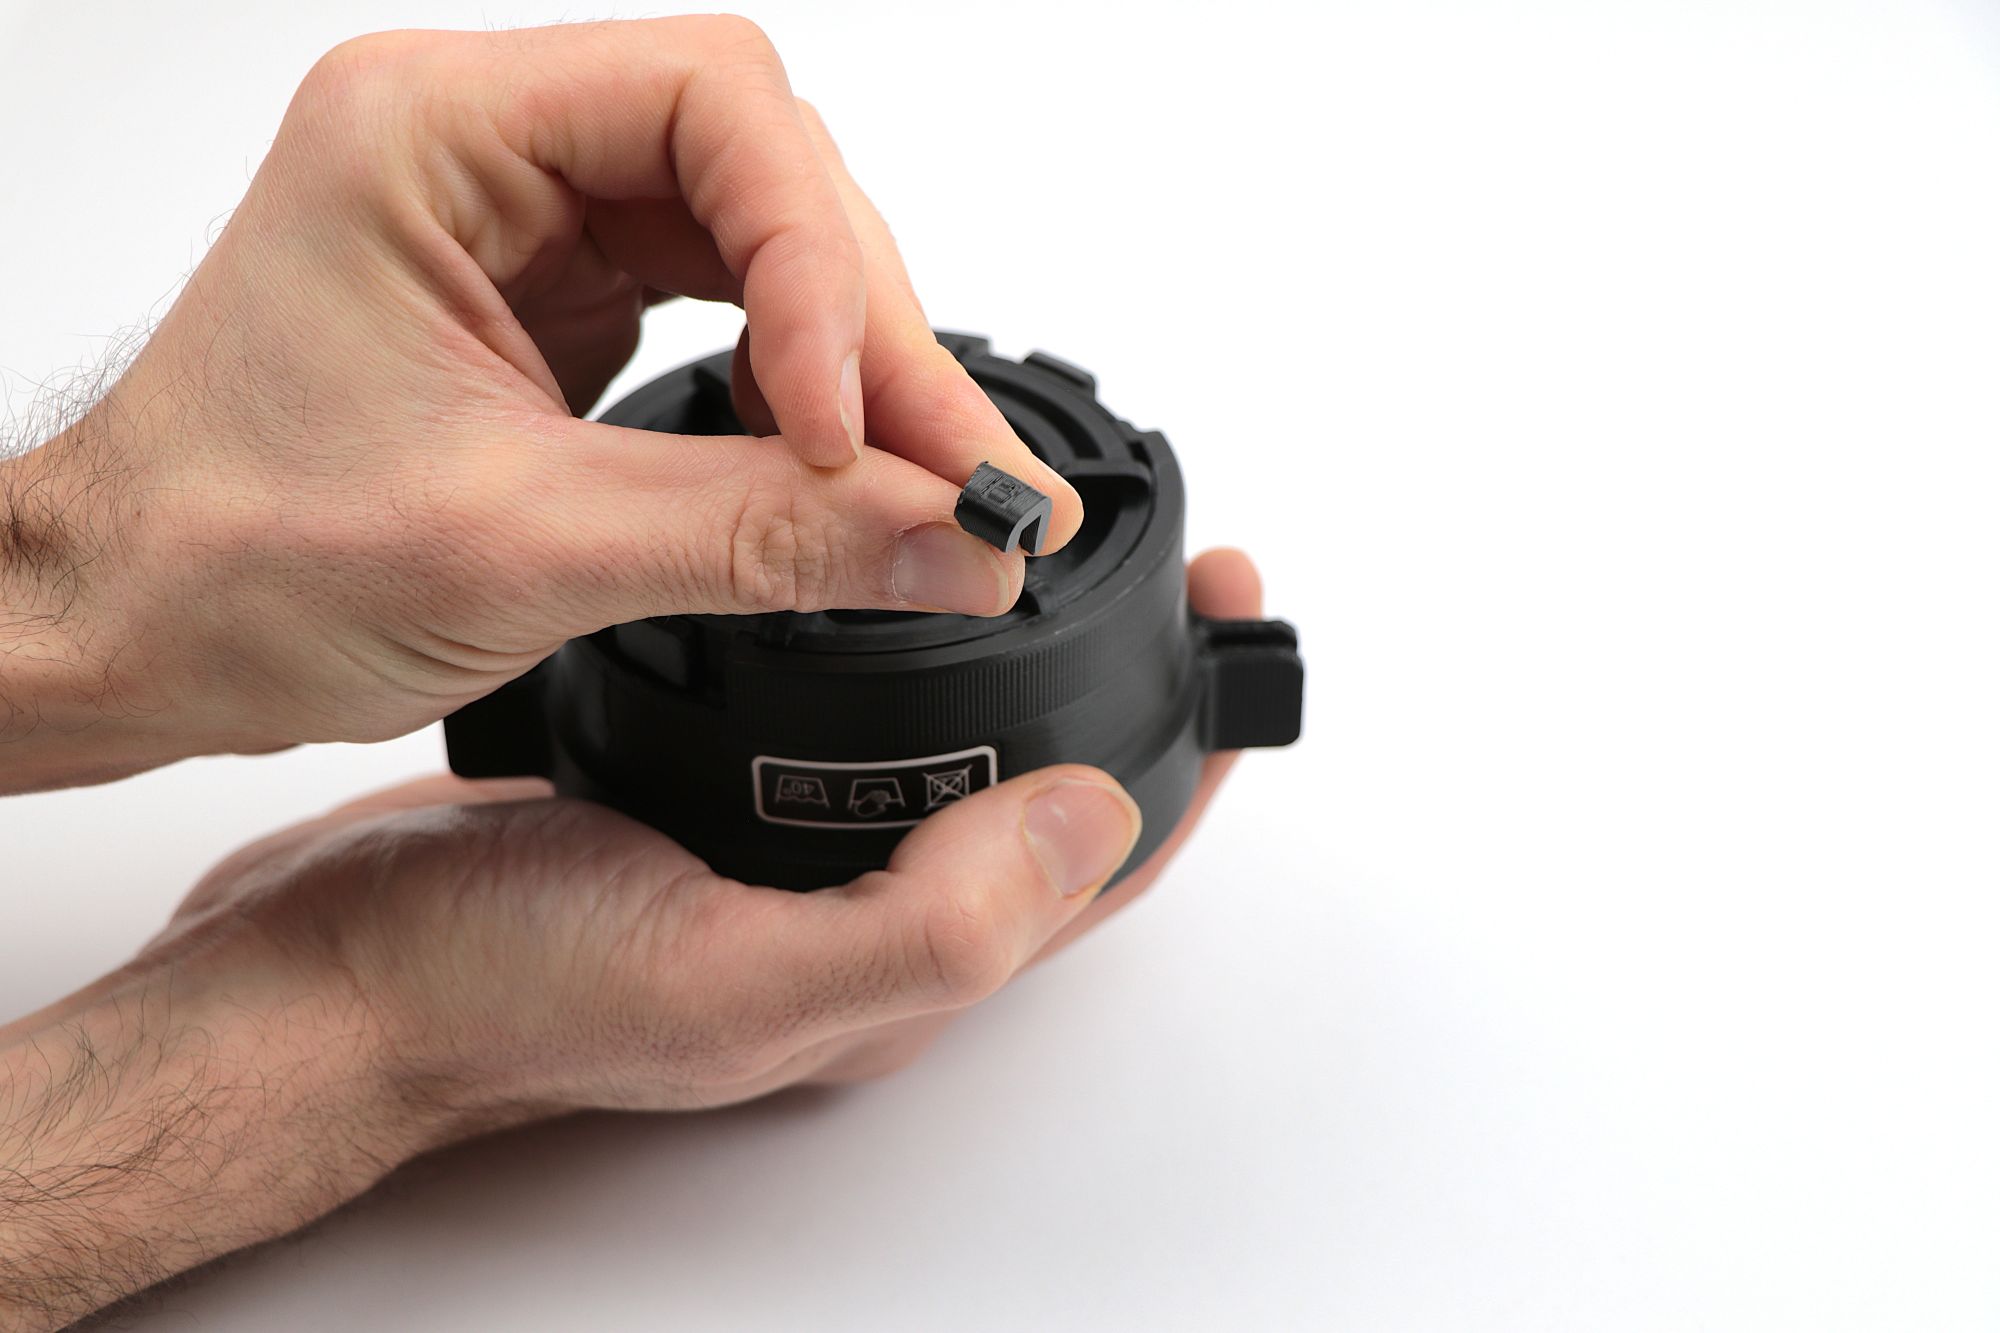
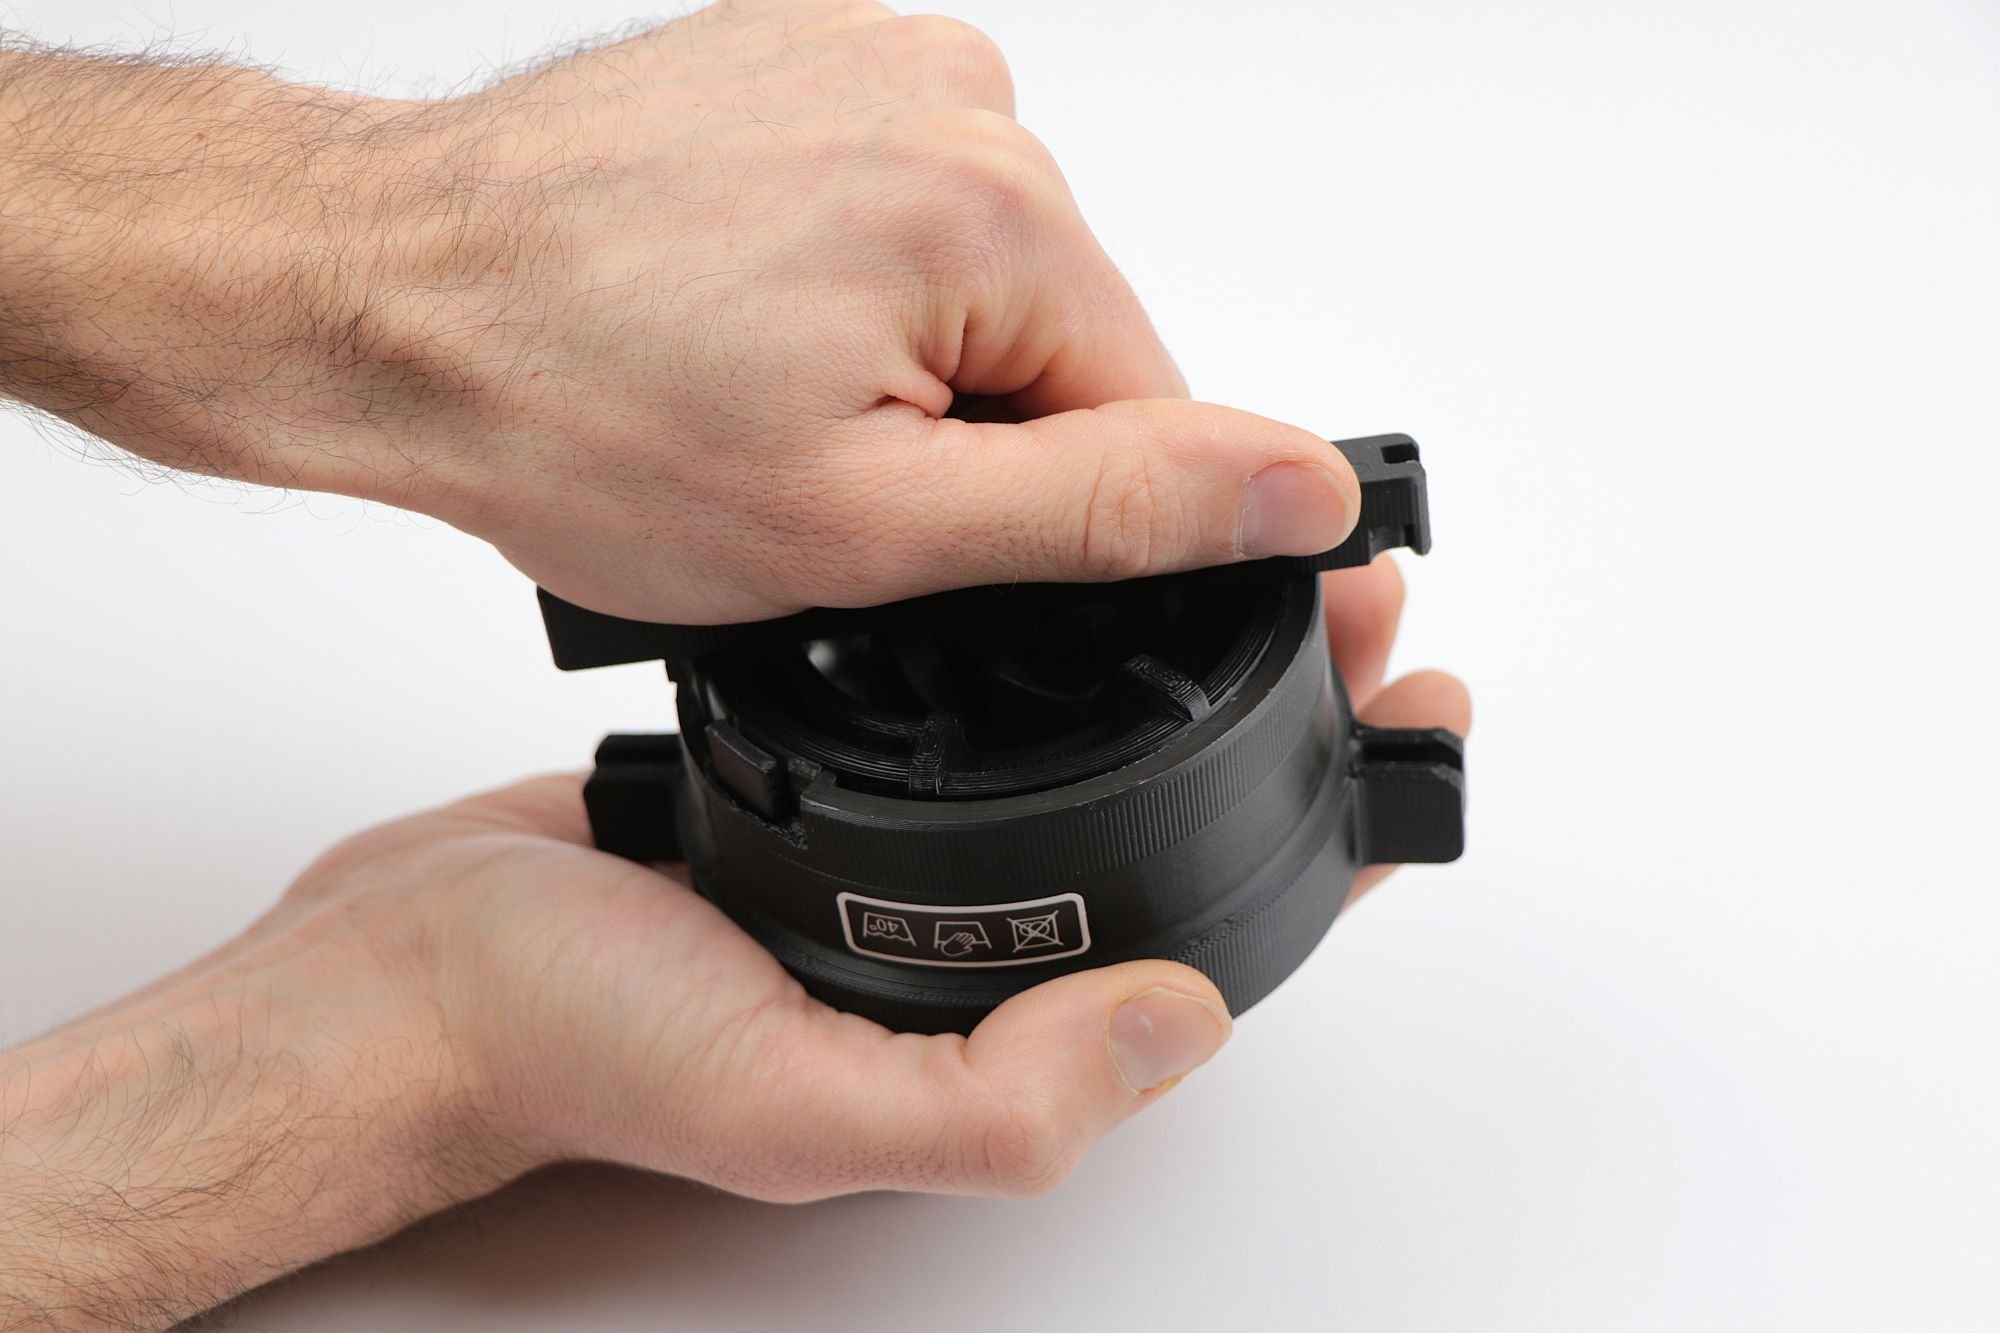
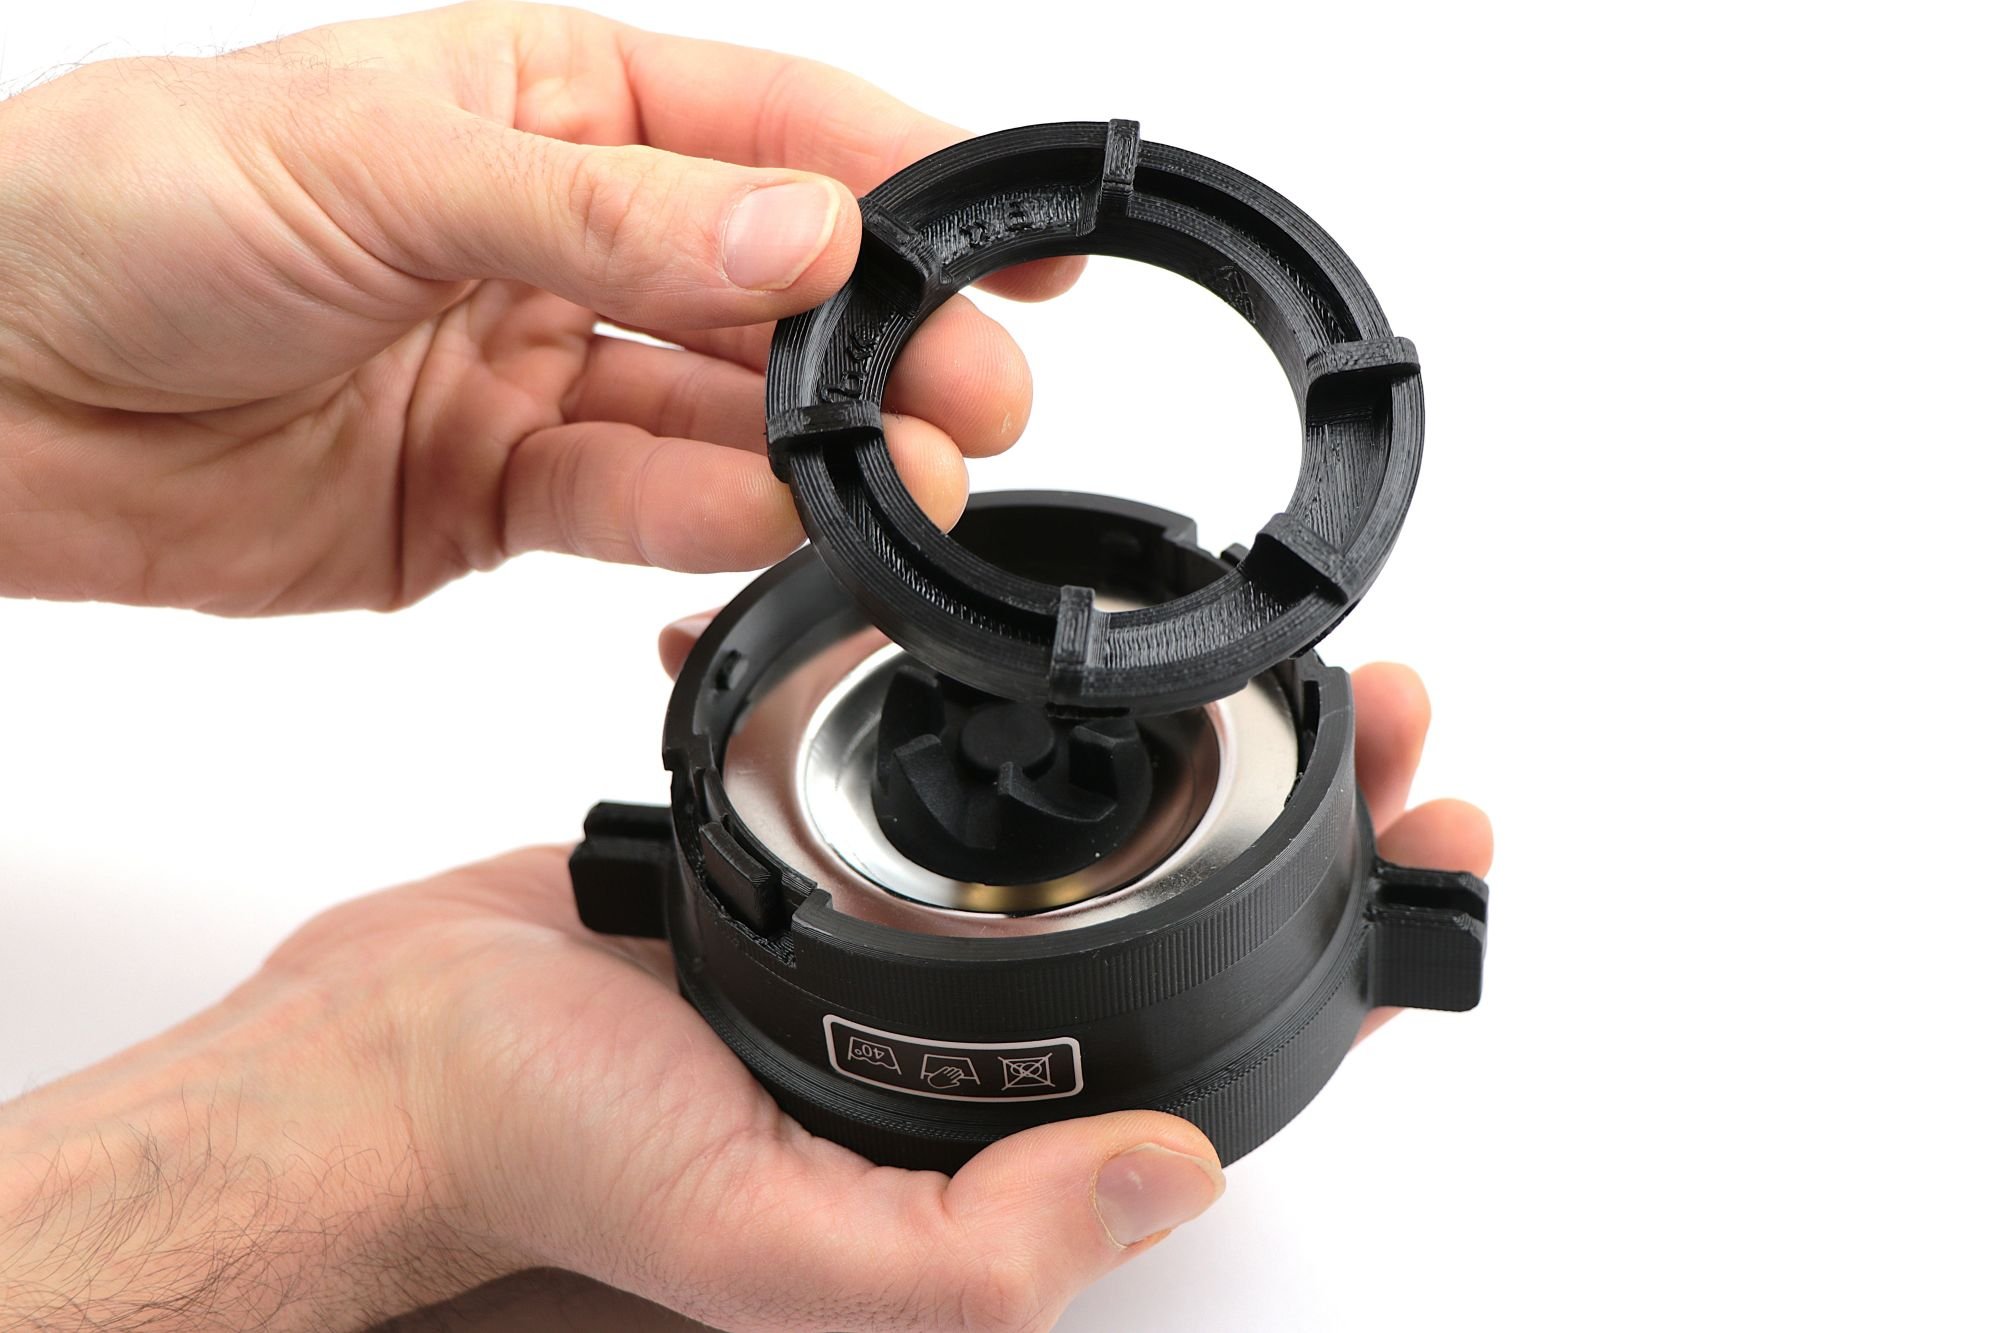
Step 2 - Remove the Locker
- Hold the Blades head firmly.
- Use the Unlocker to grip the locker and twist it counterclockwise to remove it.
- Set the Locker and Pin aside safely for reassembly.
Tip: If needed, the Locker can be twisted carefully by hand but always make sure to hold the Blades head securely.

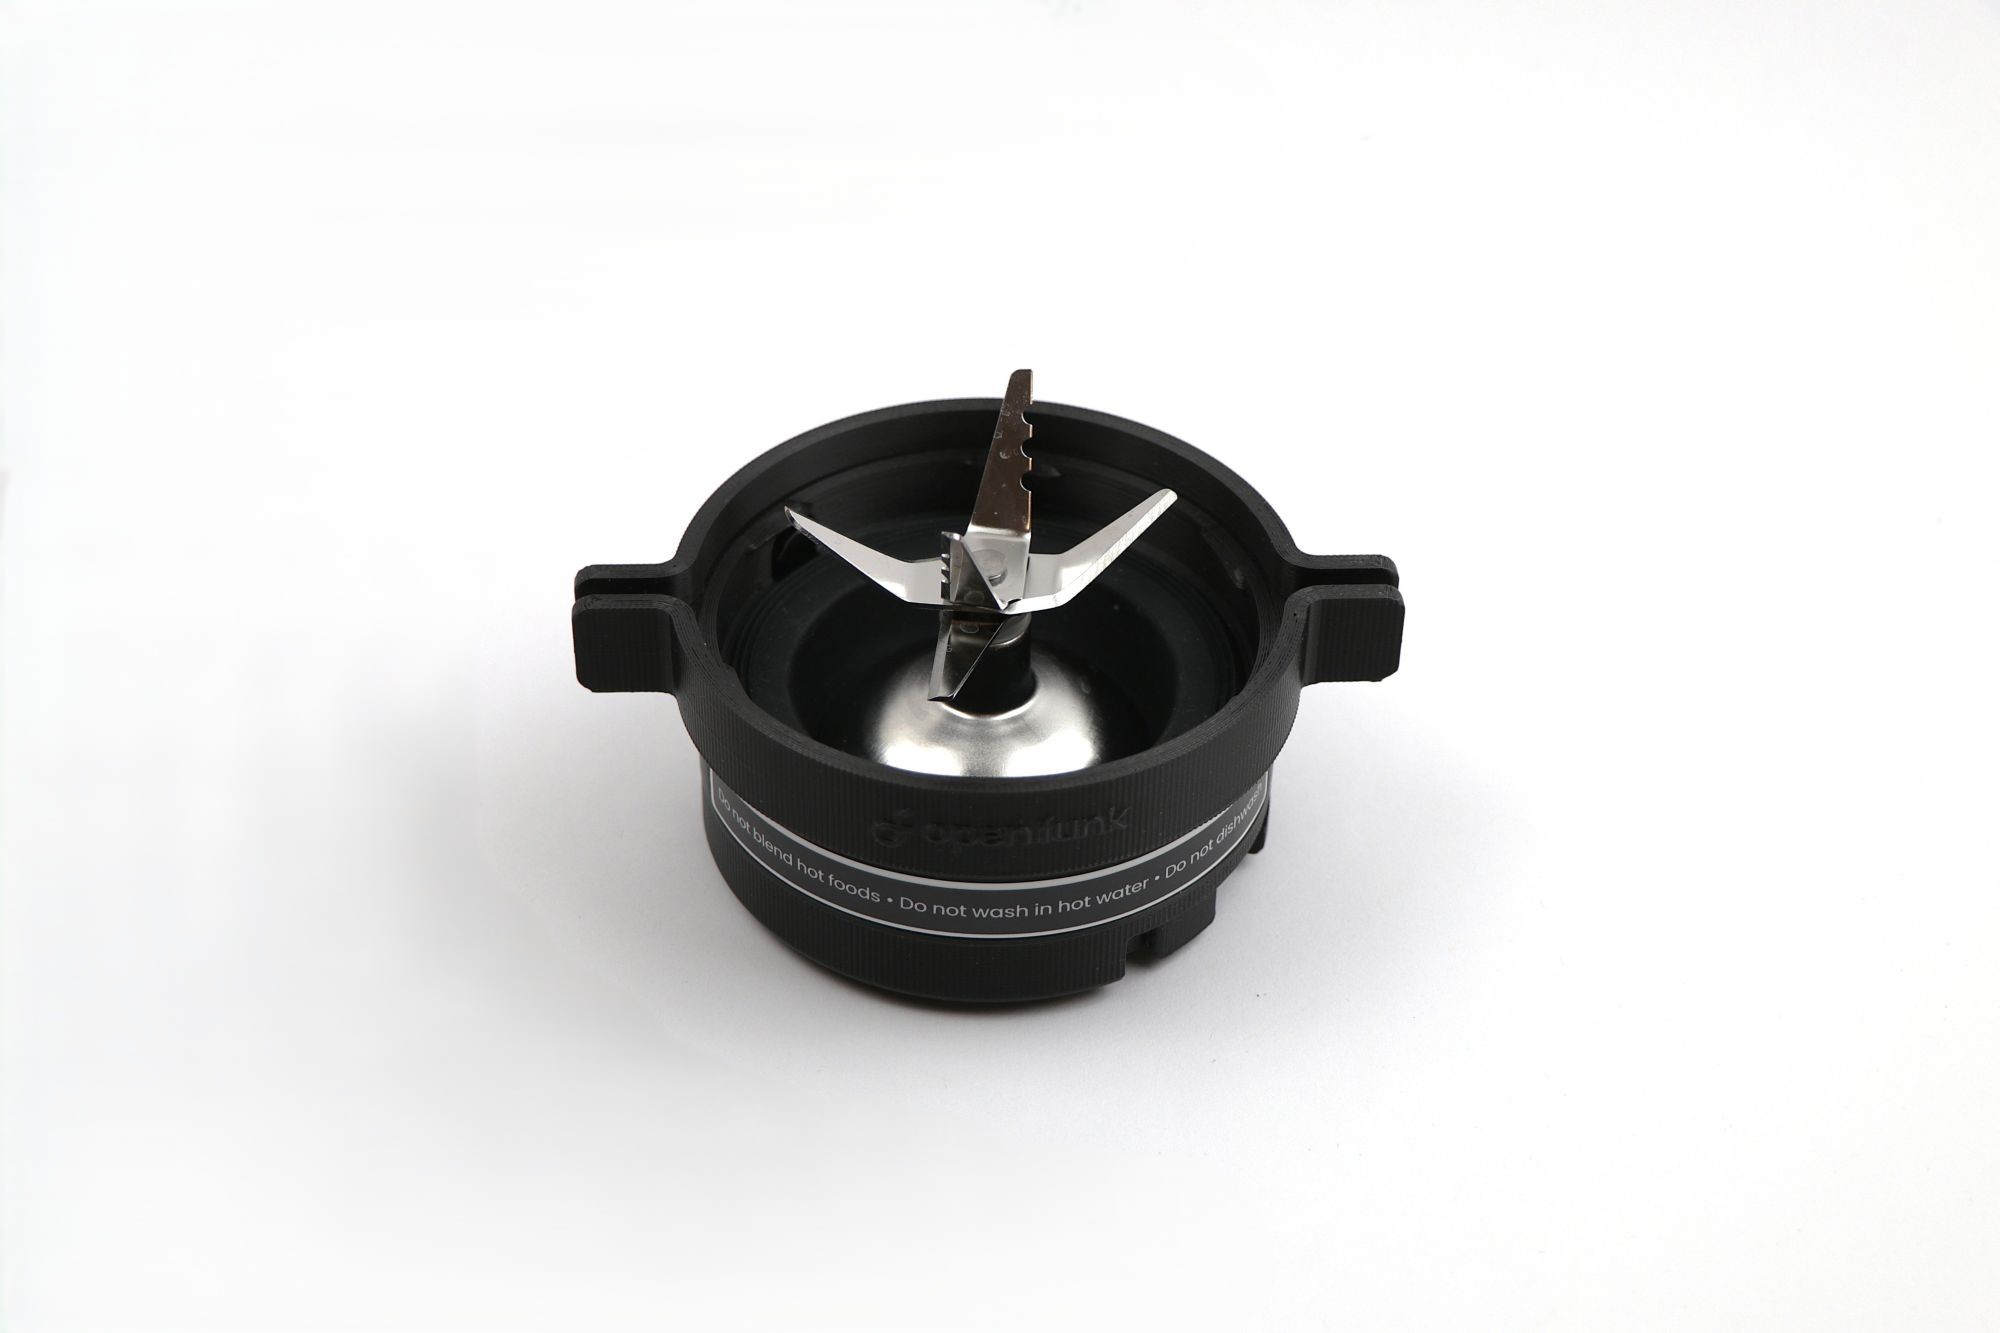
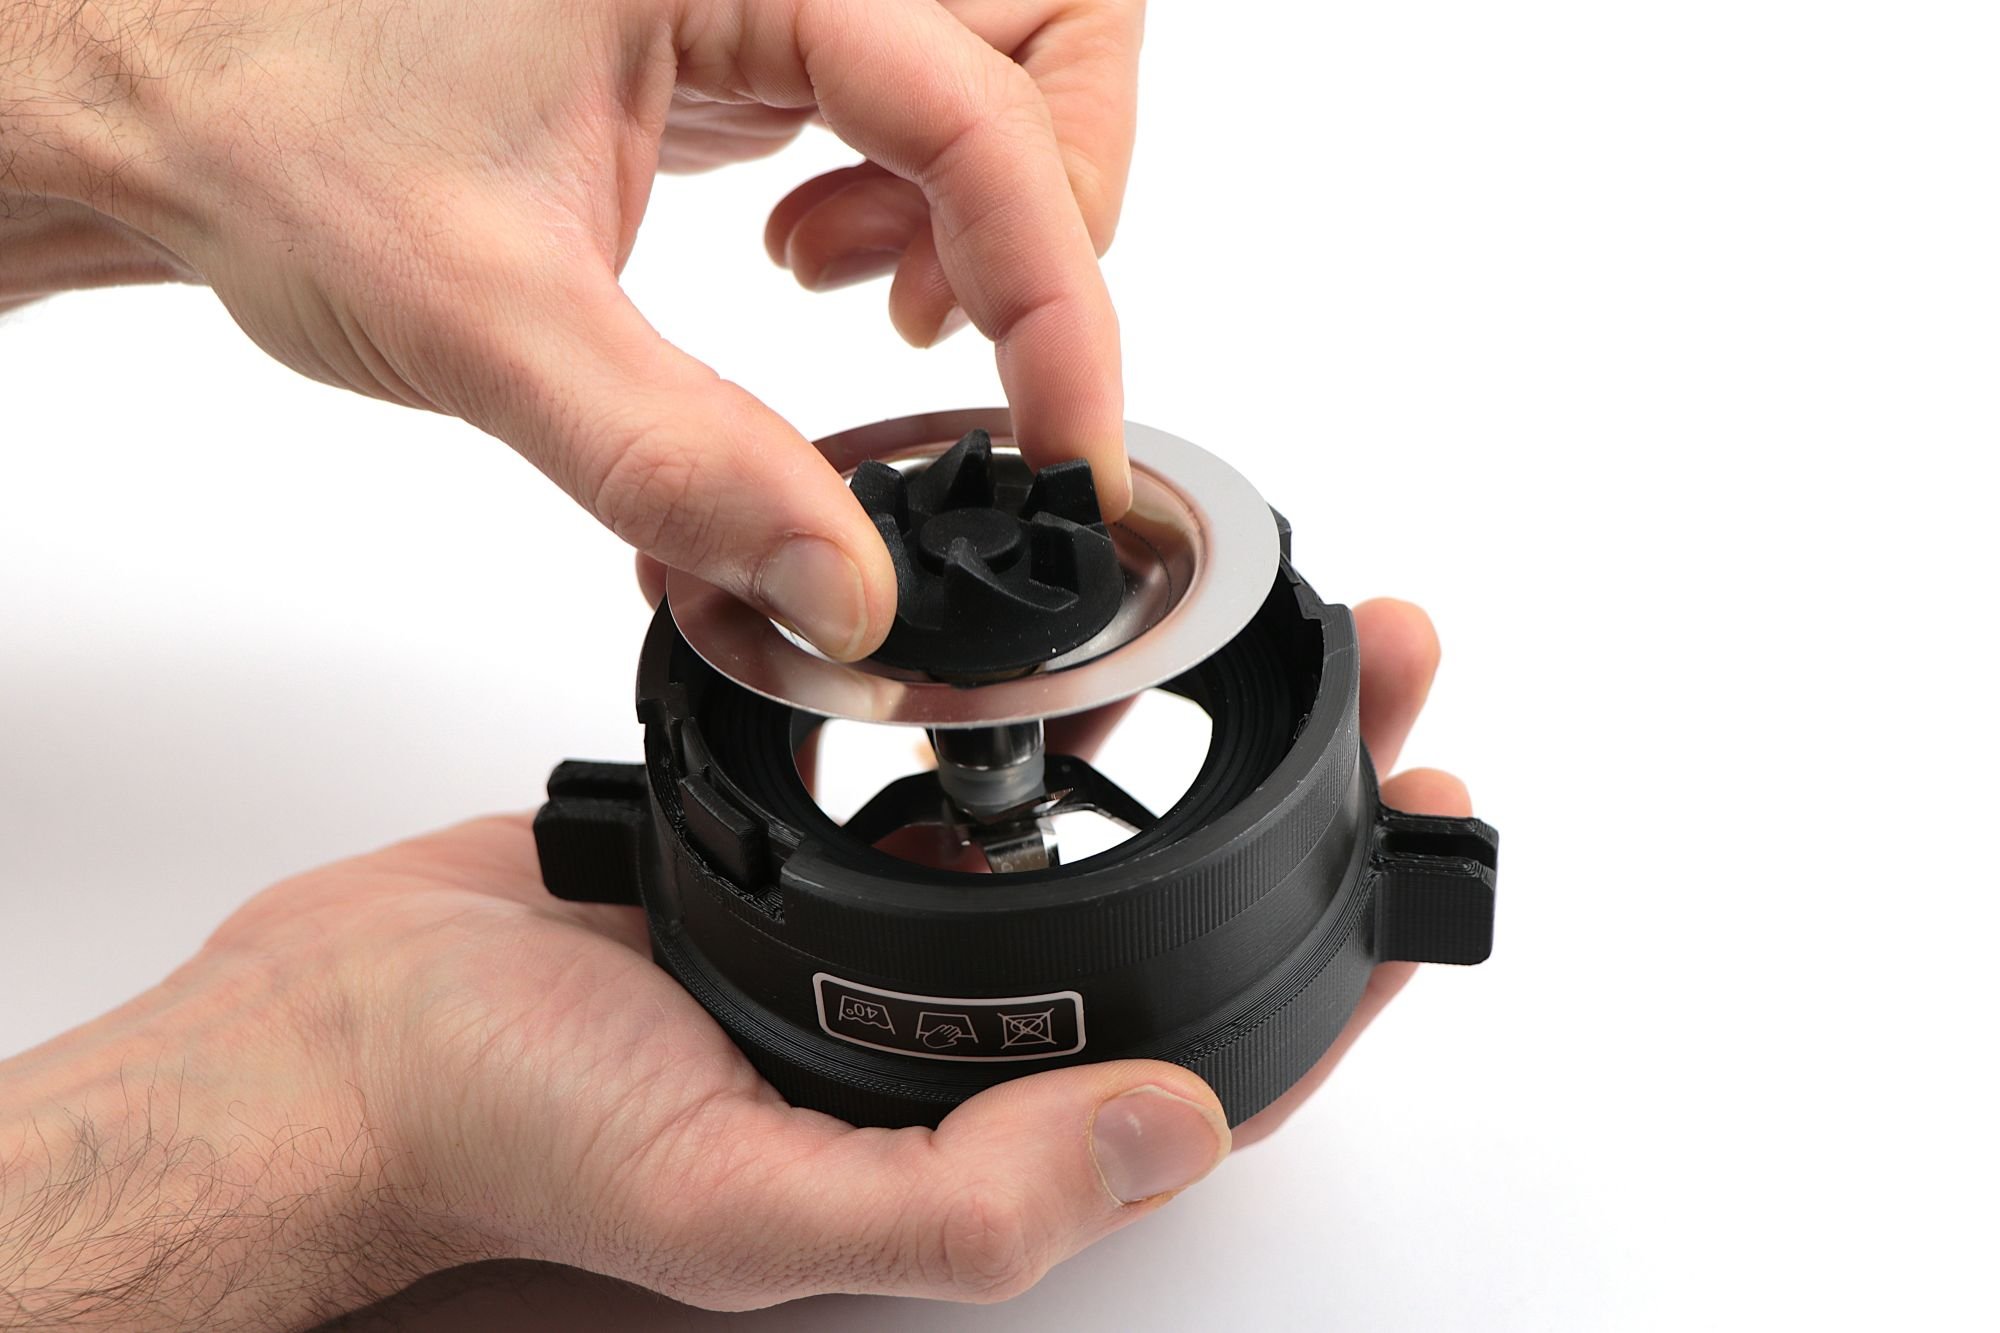
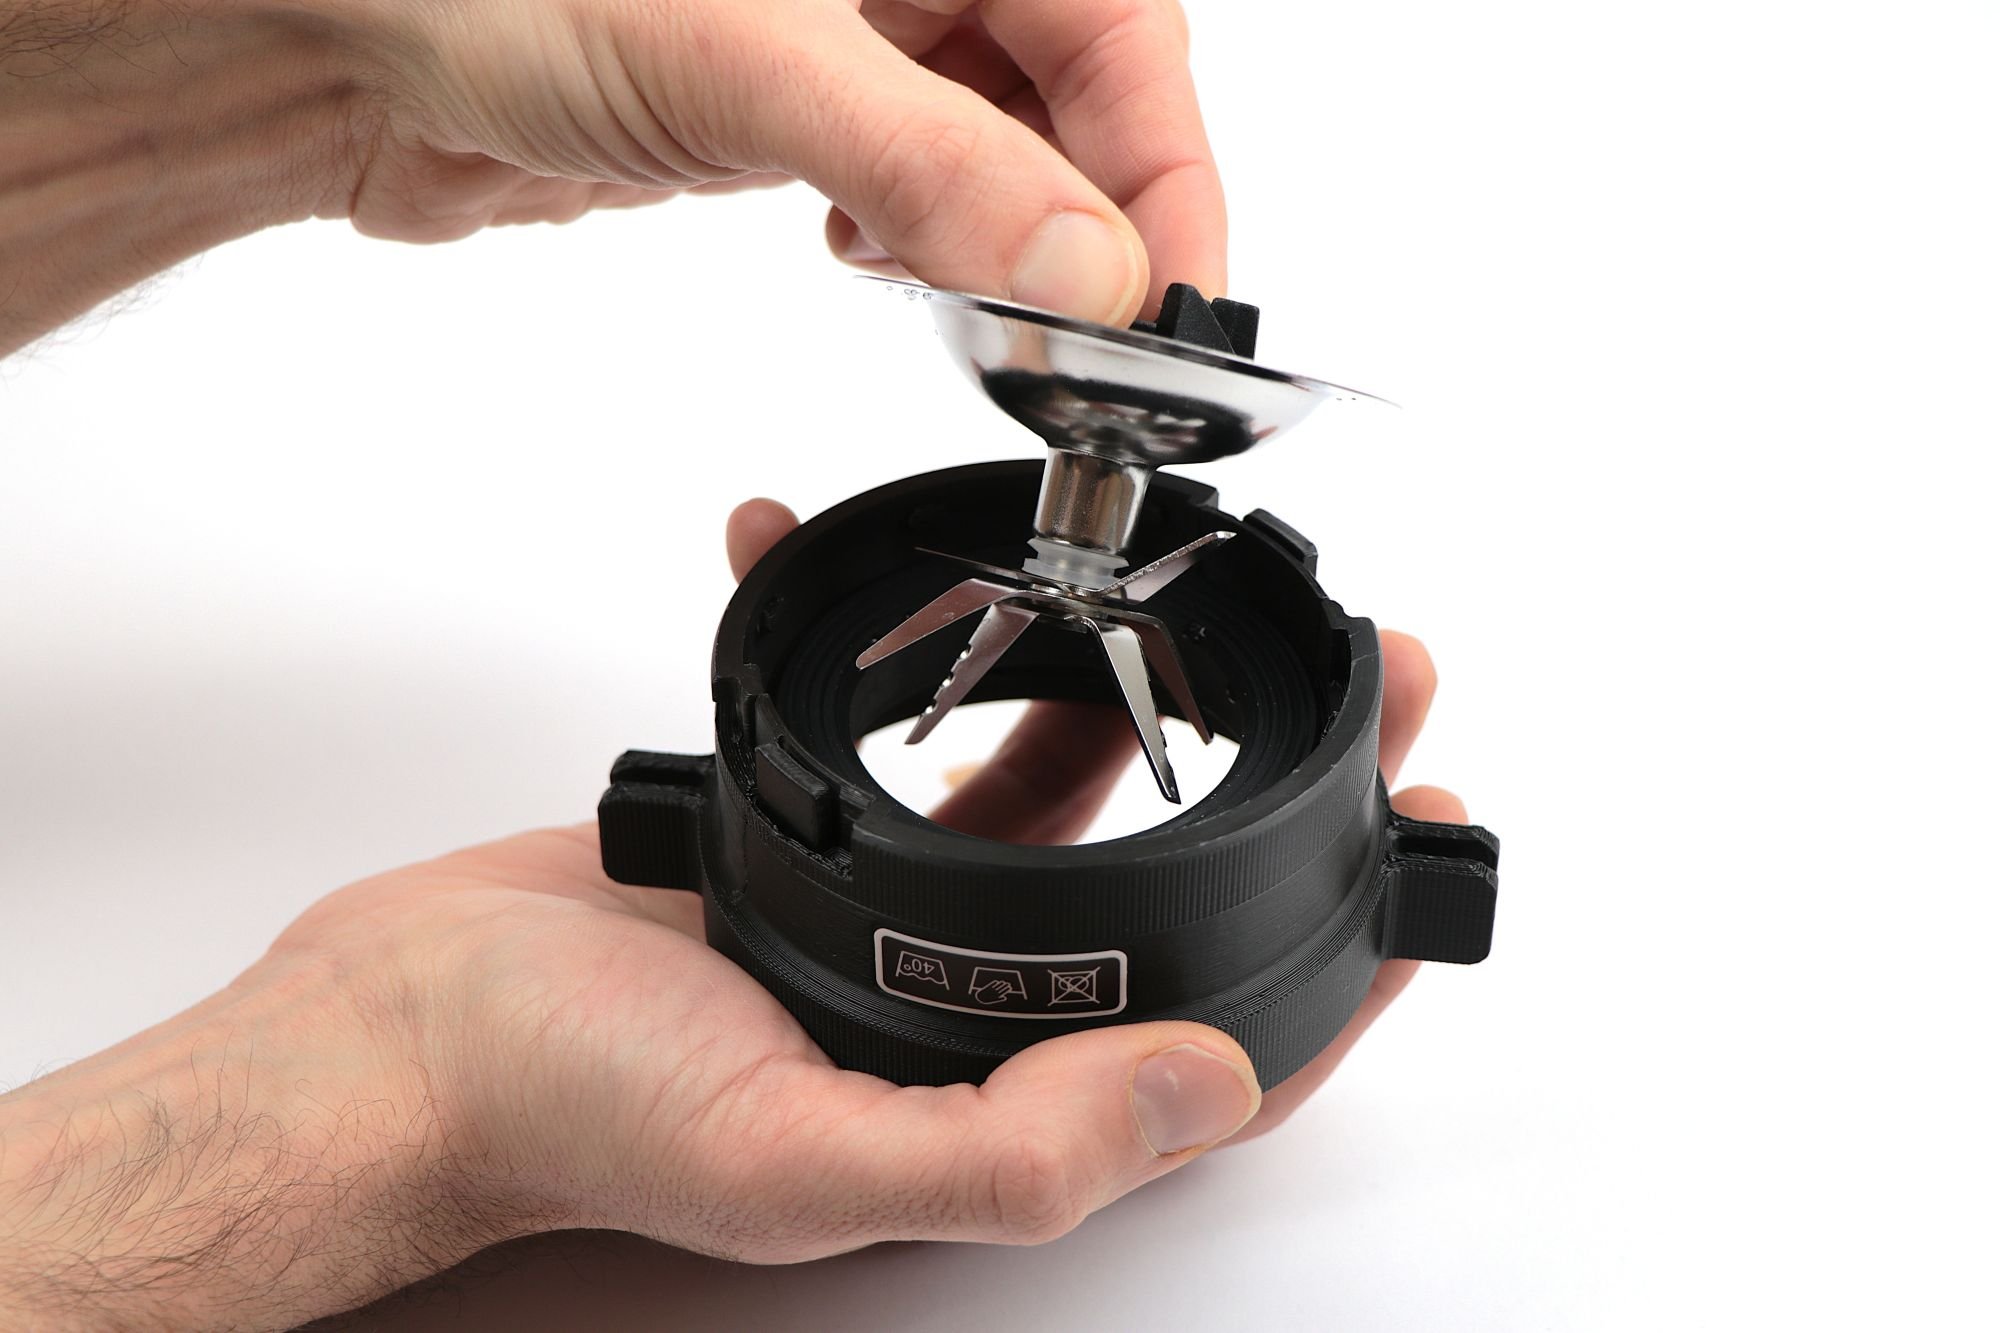
Step 3 - Remove the Blades
- Hold the Blades head frame securely with one hand to keep it stable.
- Grip the Blades carefully by the blade gear.
- Lift the Blades straight up and out of the Head frame.
Tip: Place a kitchen cloth between your hand and the blades head to protect against the sharp Blades.

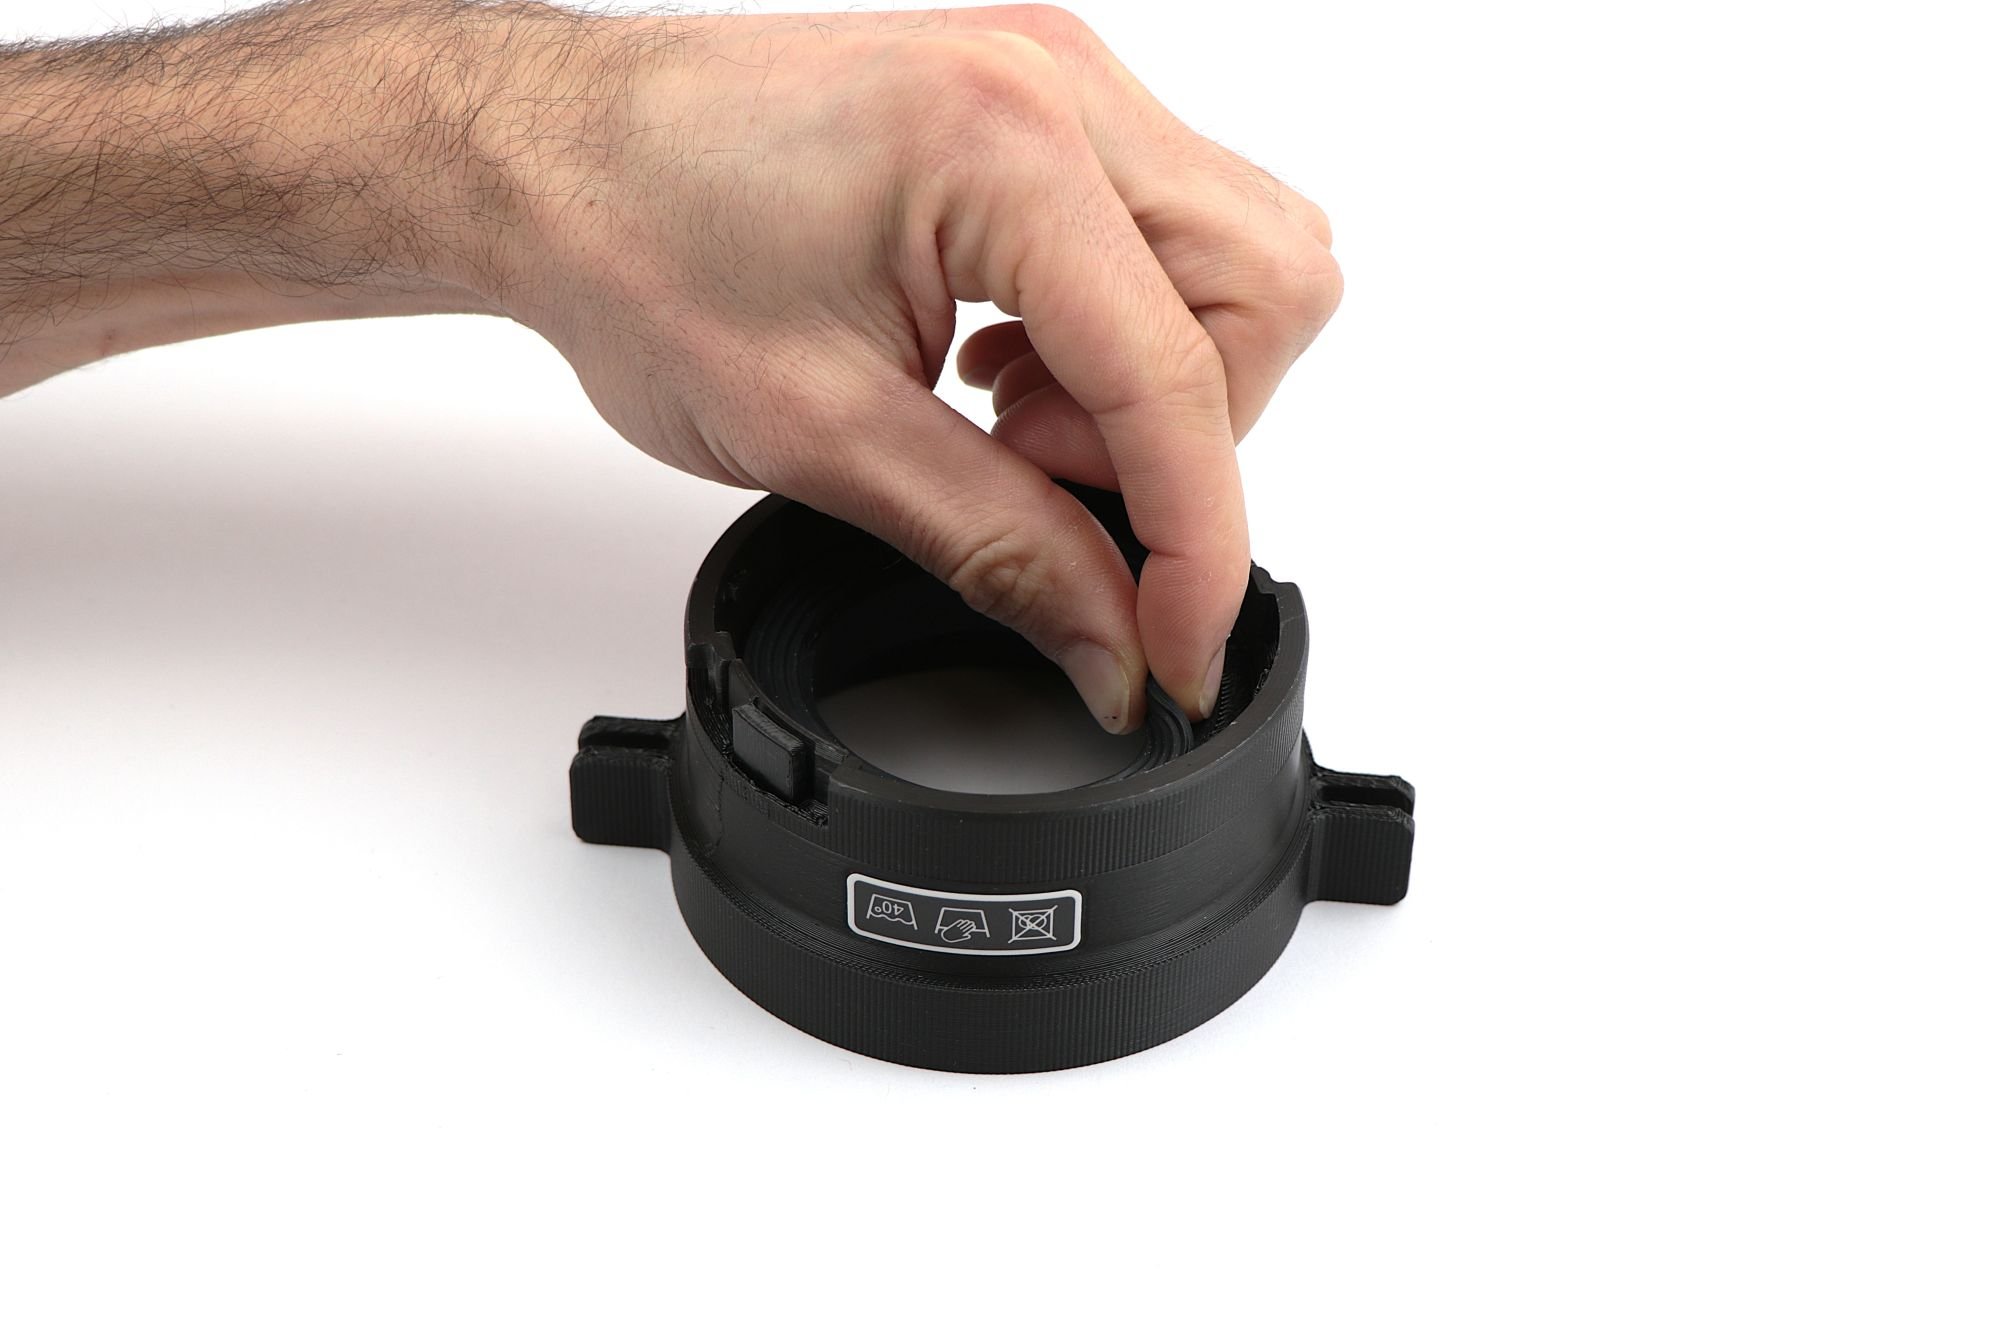
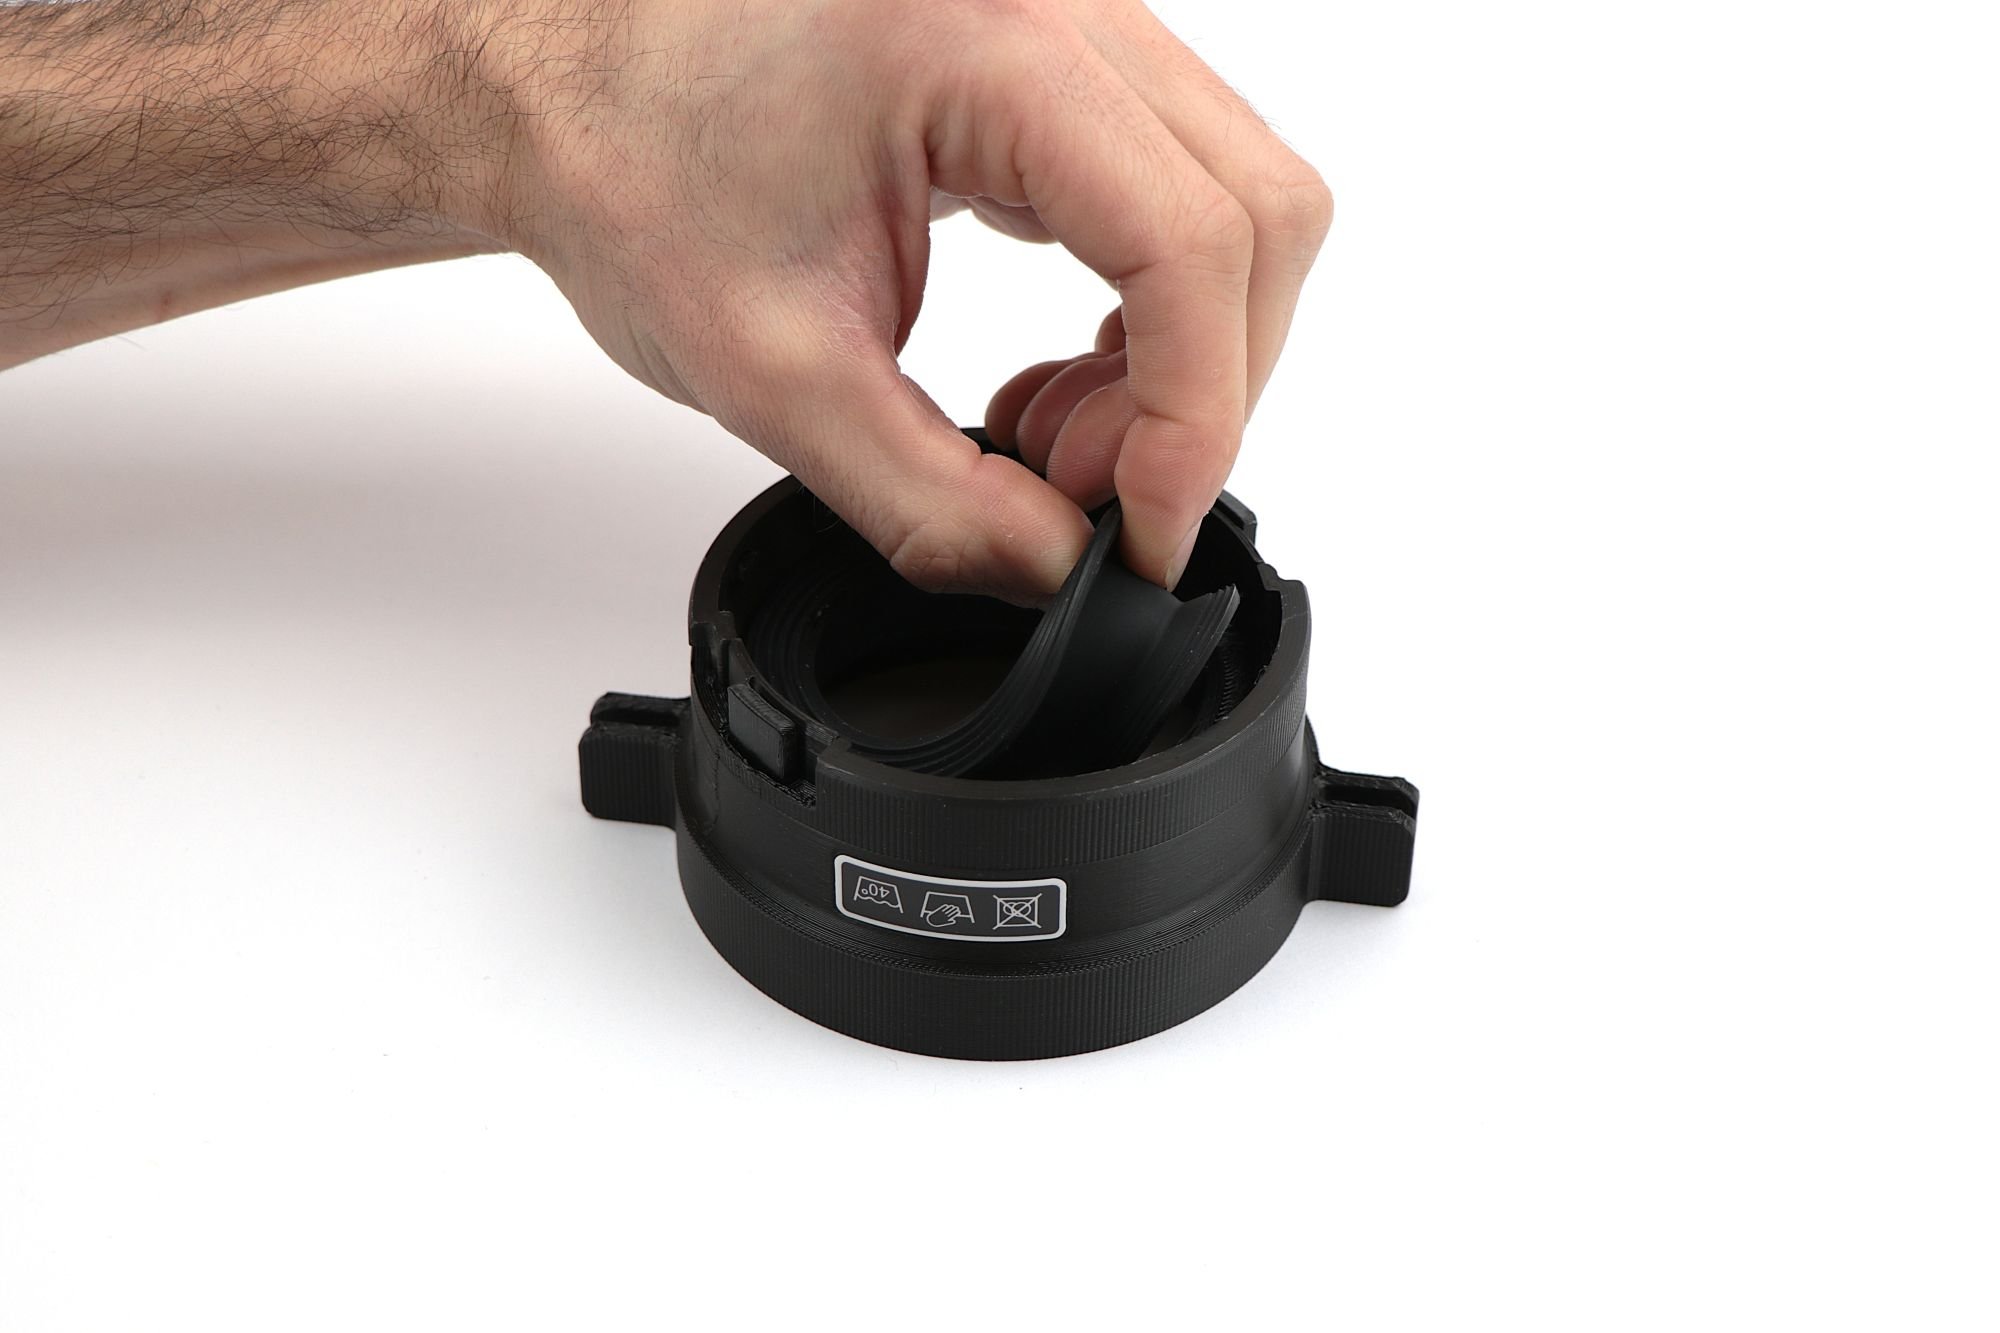
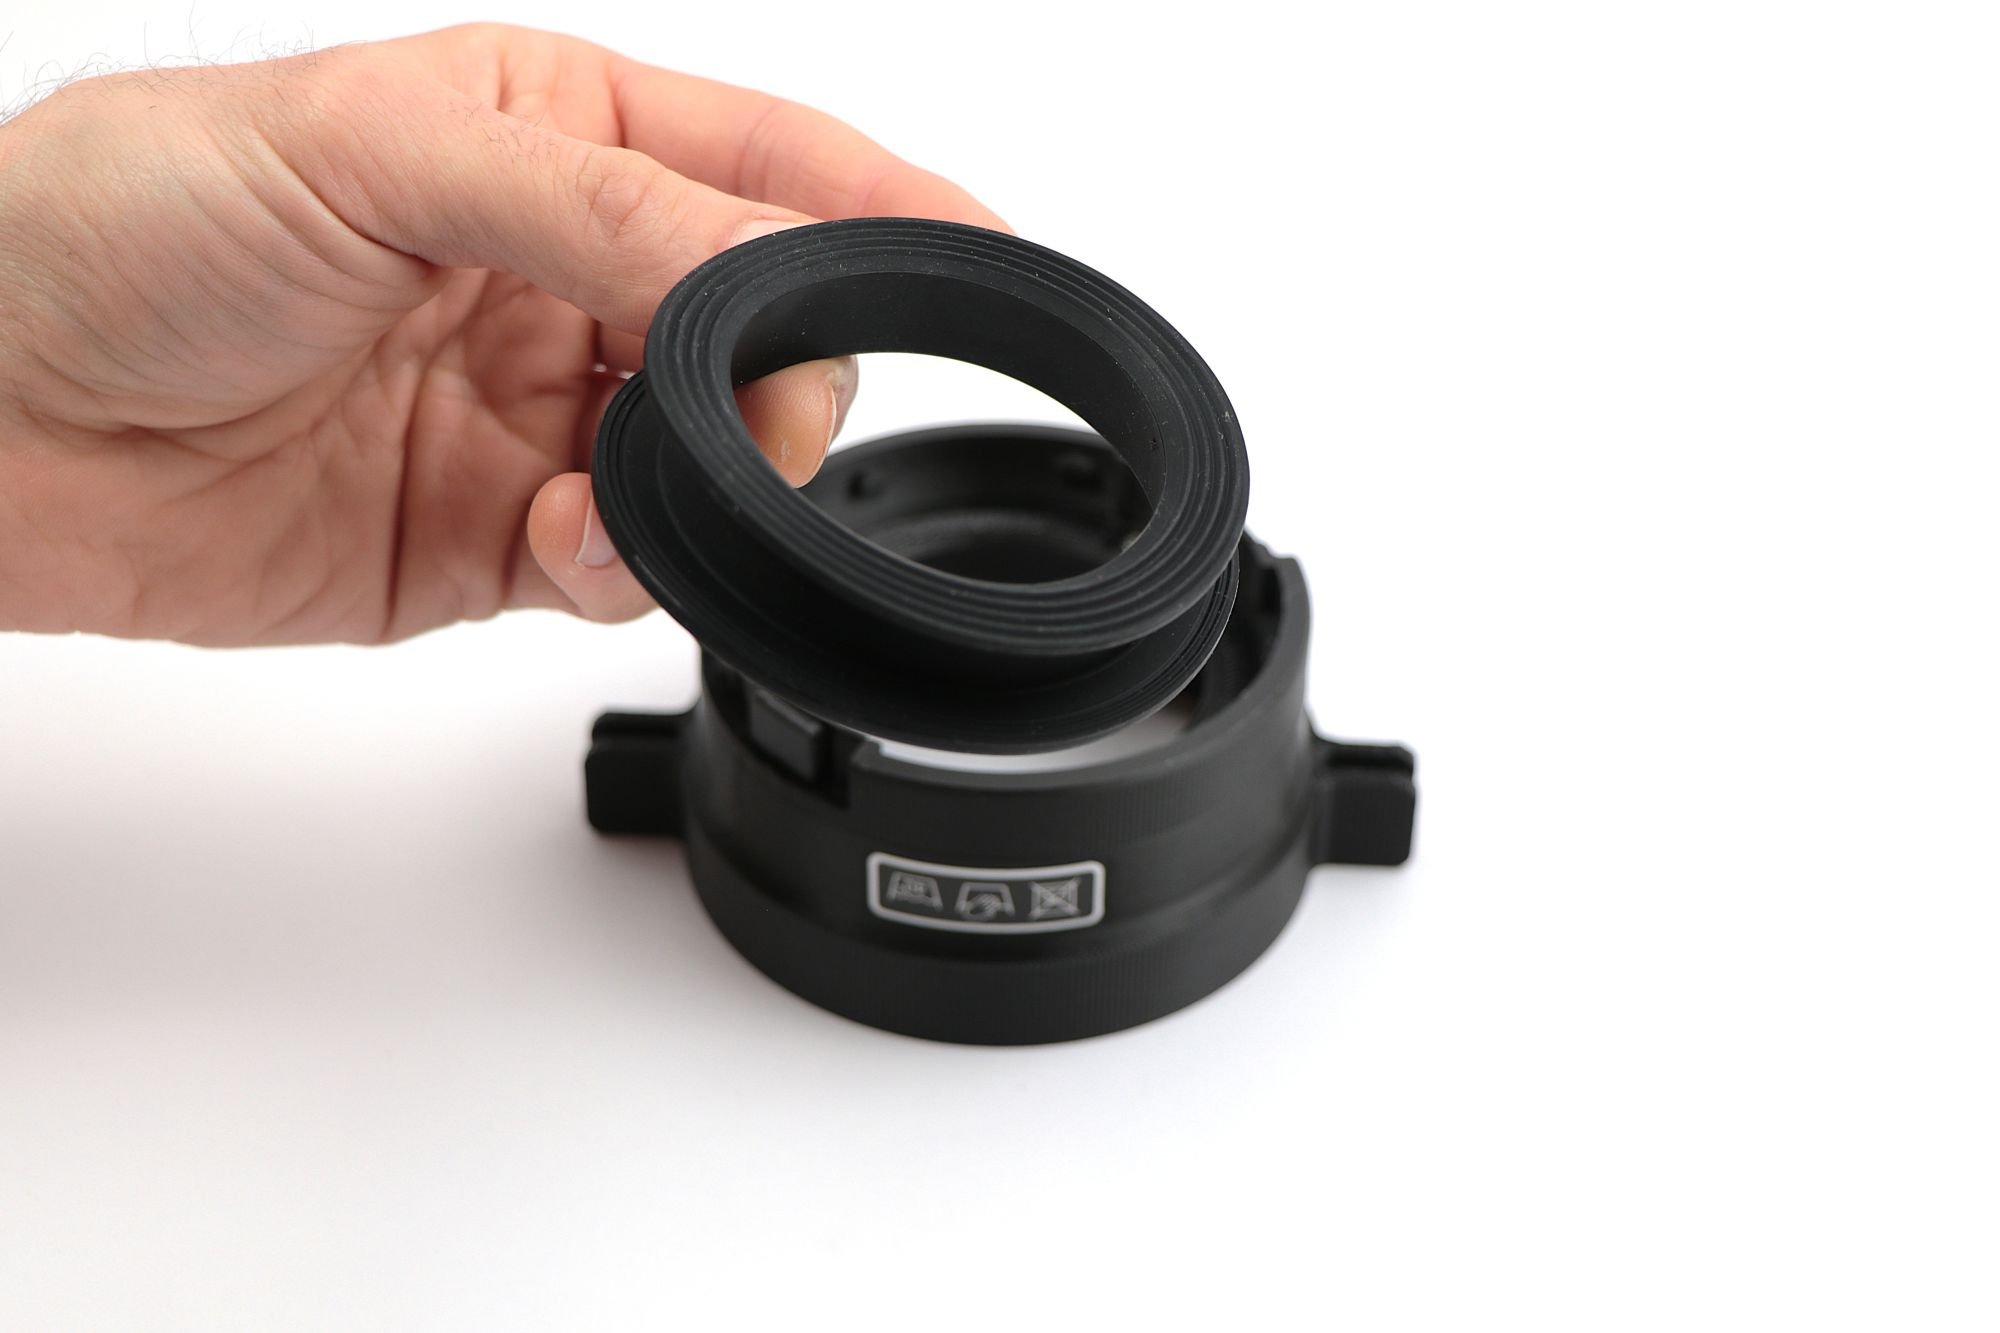
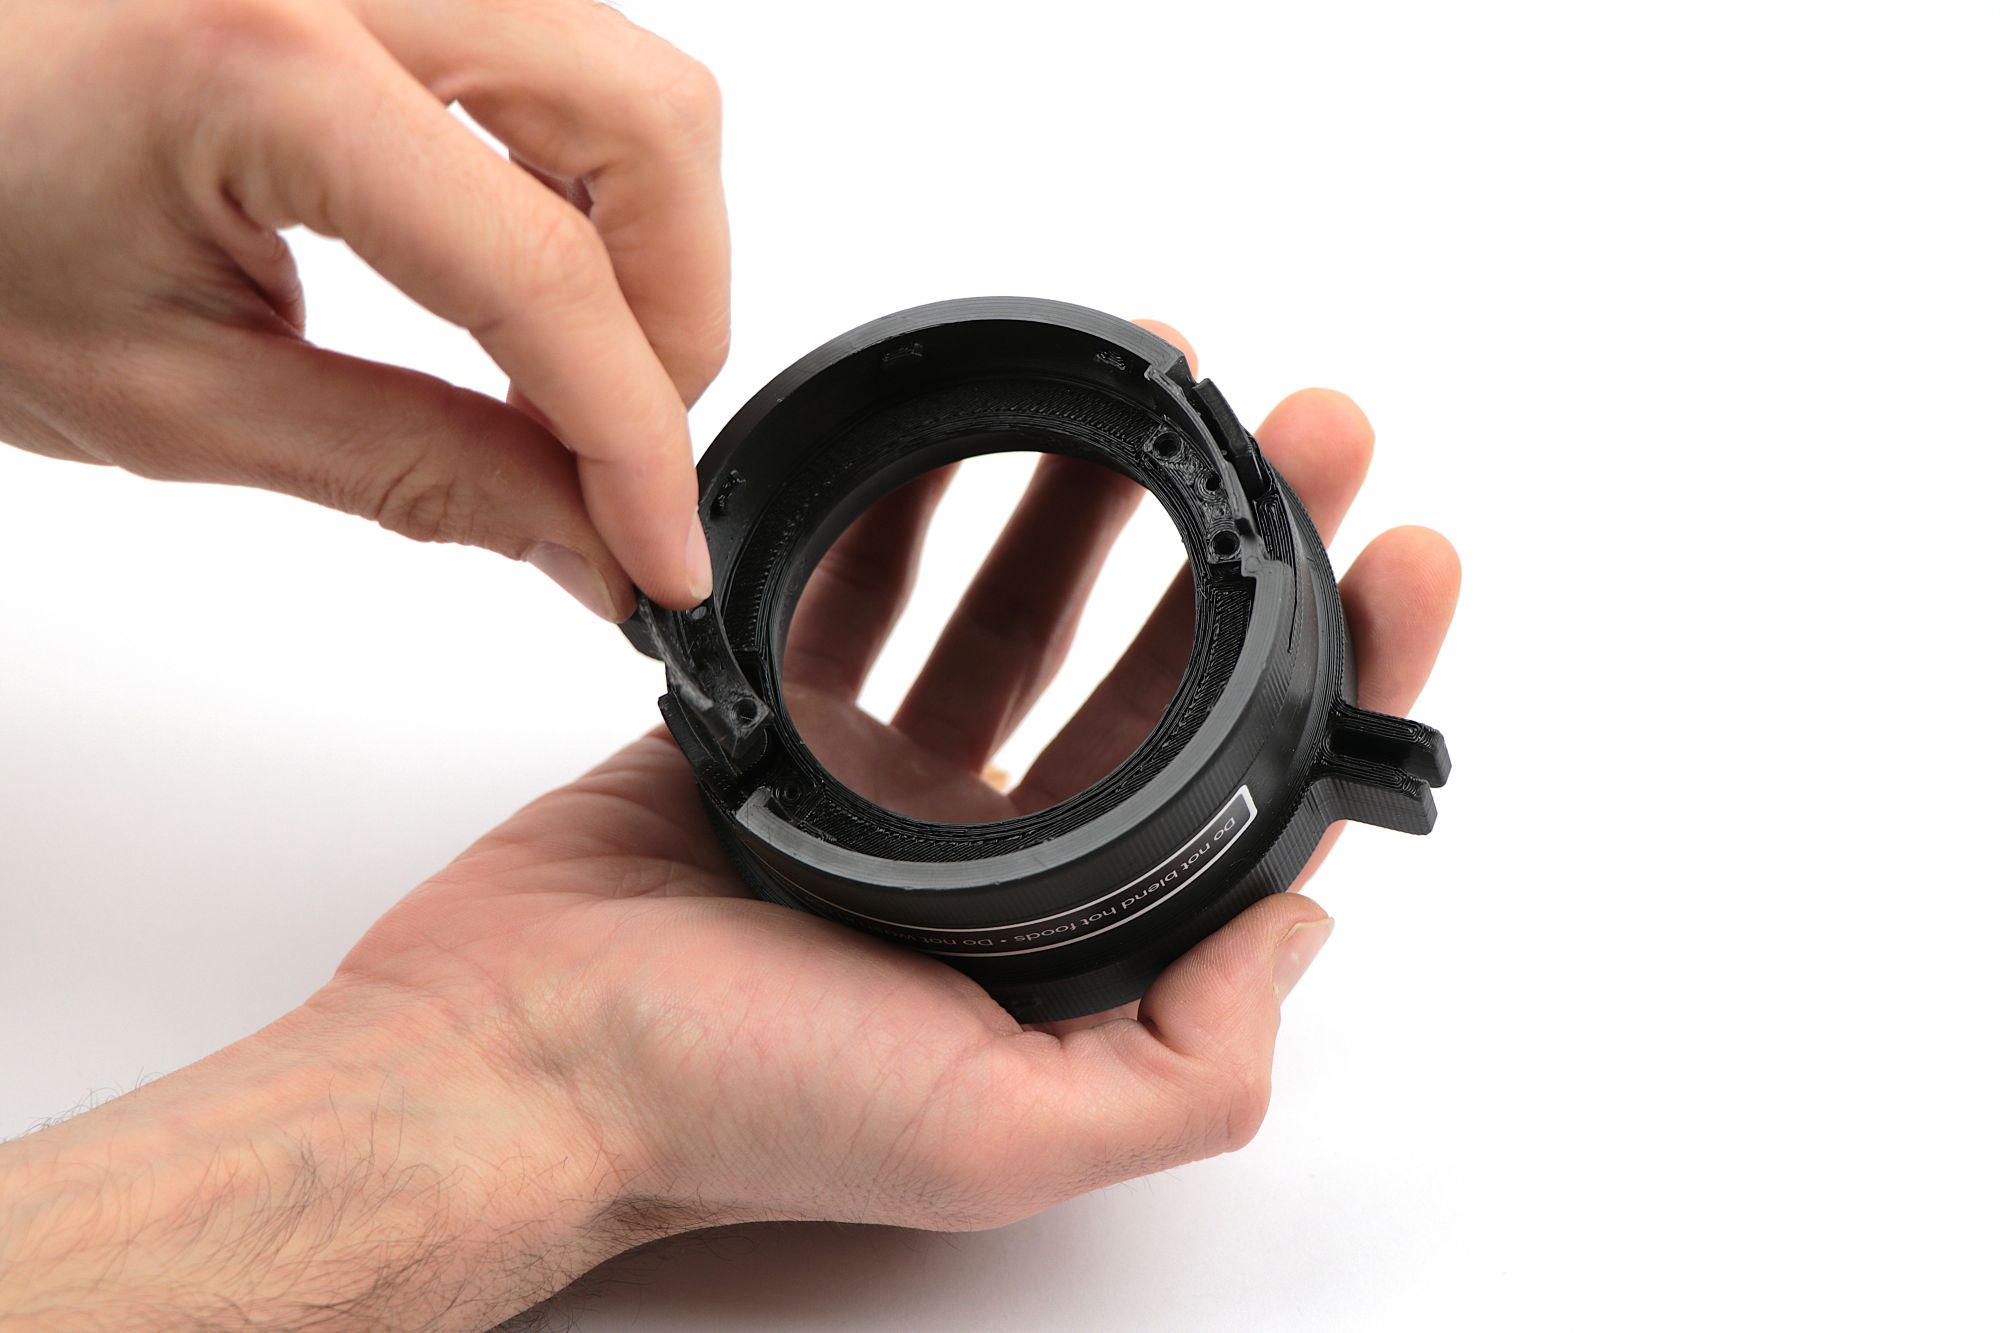
Step 4 - Remove the Silicone Head Seal
- Locate the silicone seal inside the blades head frame.
- Grip the seal gently with your fingers.
- Lift the silicone head seal out of the frame and set it aside.
Tip: Remember the orientation of the seal. The upper and lower sides are asymmetrical and must be reinstalled in the same direction.
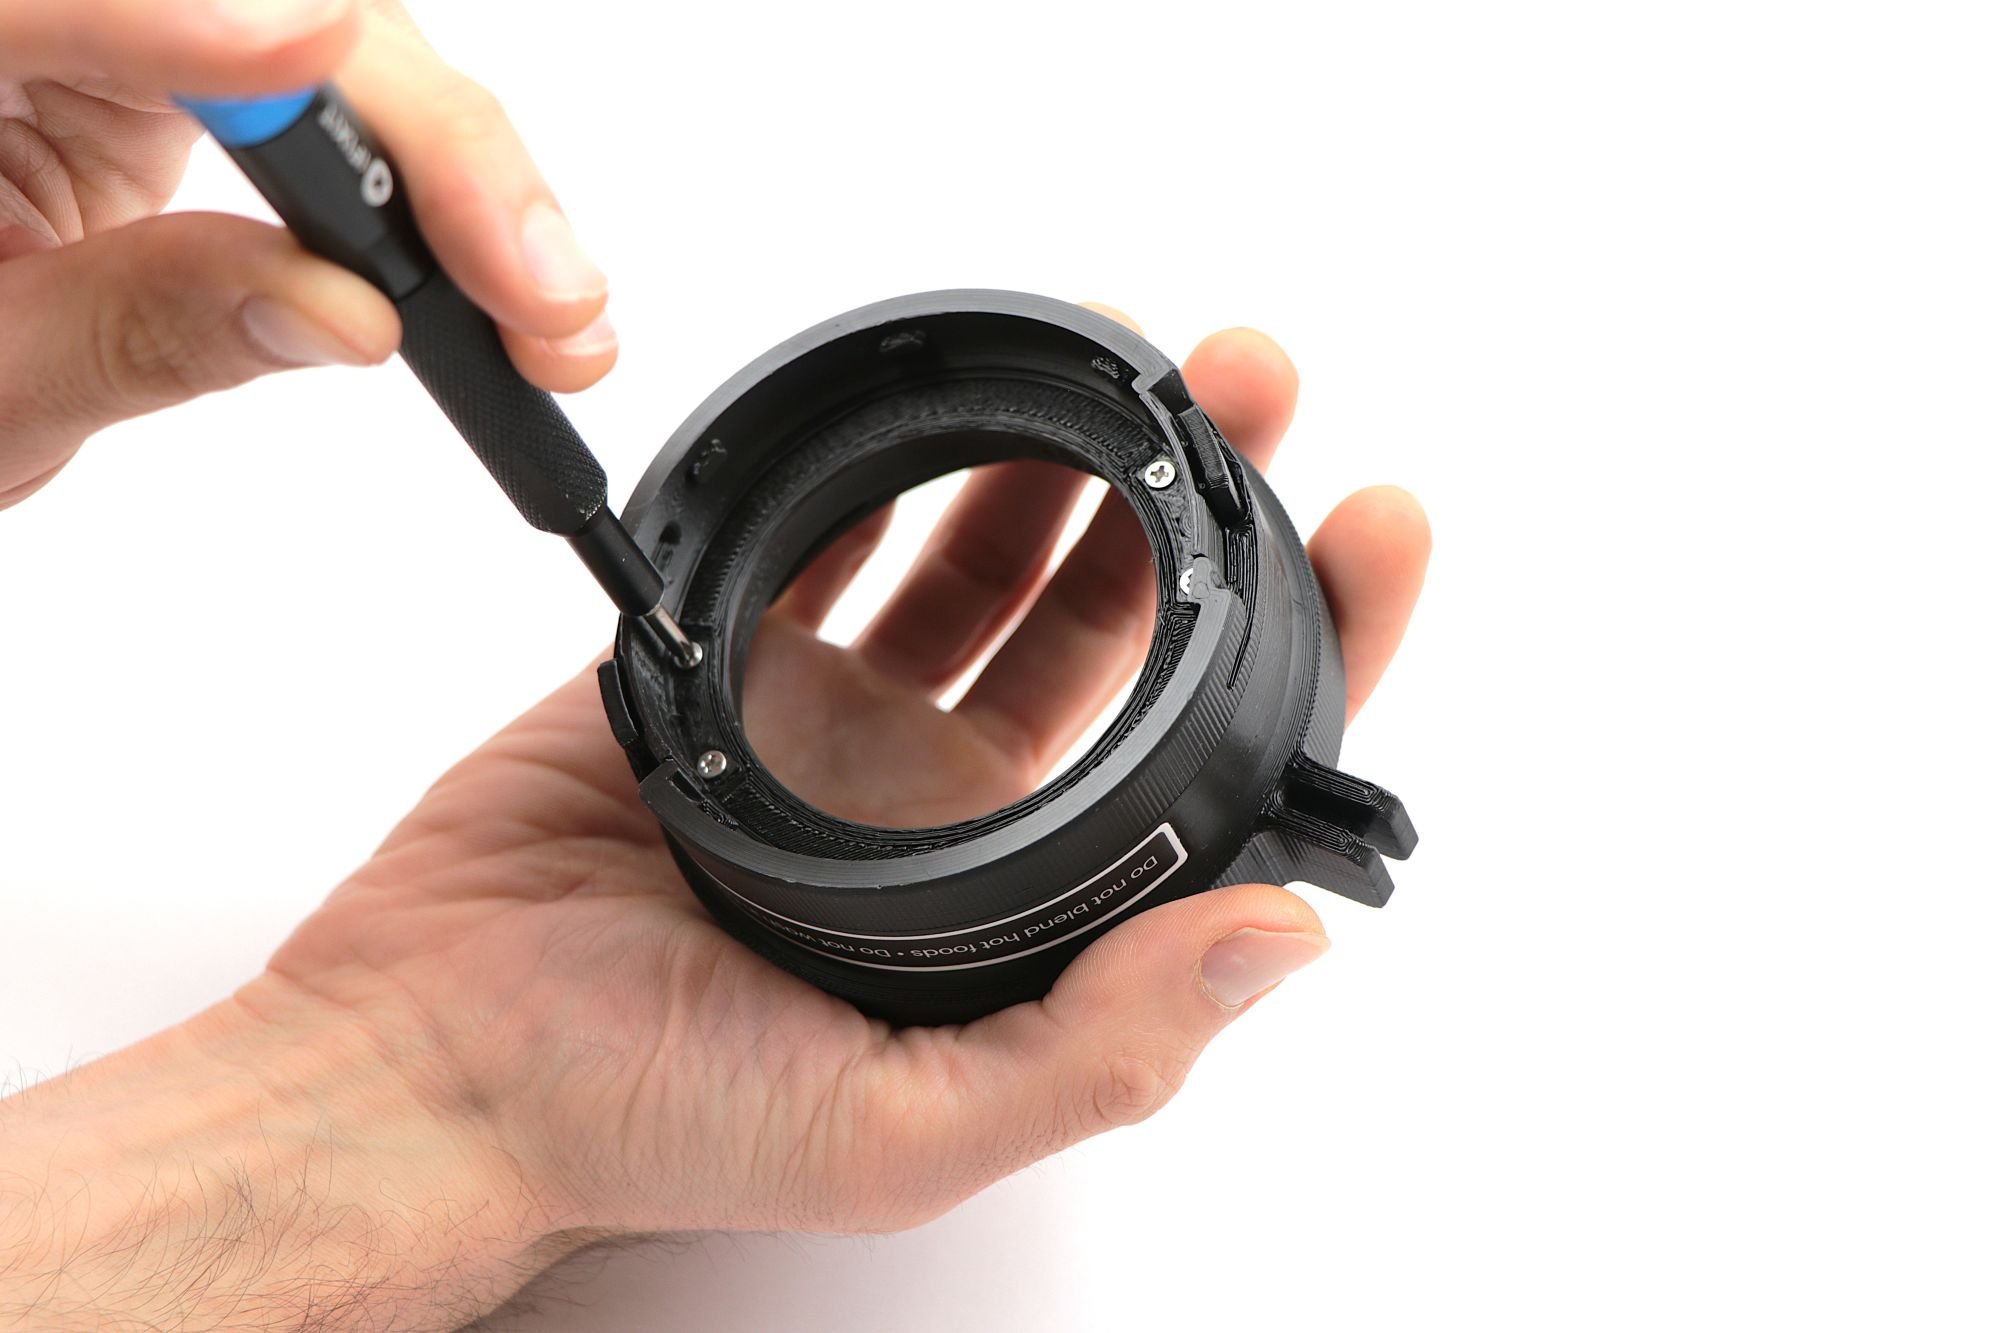
Step 5 - Unscrew the Stoppers
- Locate the stoppers secured with the cross screws inside the blades head frame.
- Use the PH00 Phillips screwdriver to loosen each screw by turning it counterclockwise.
- Remove the screws and stoppers and set them aside safely for reassembly.
Tip: Use the correct screwdriver size to avoid stripping the screws.
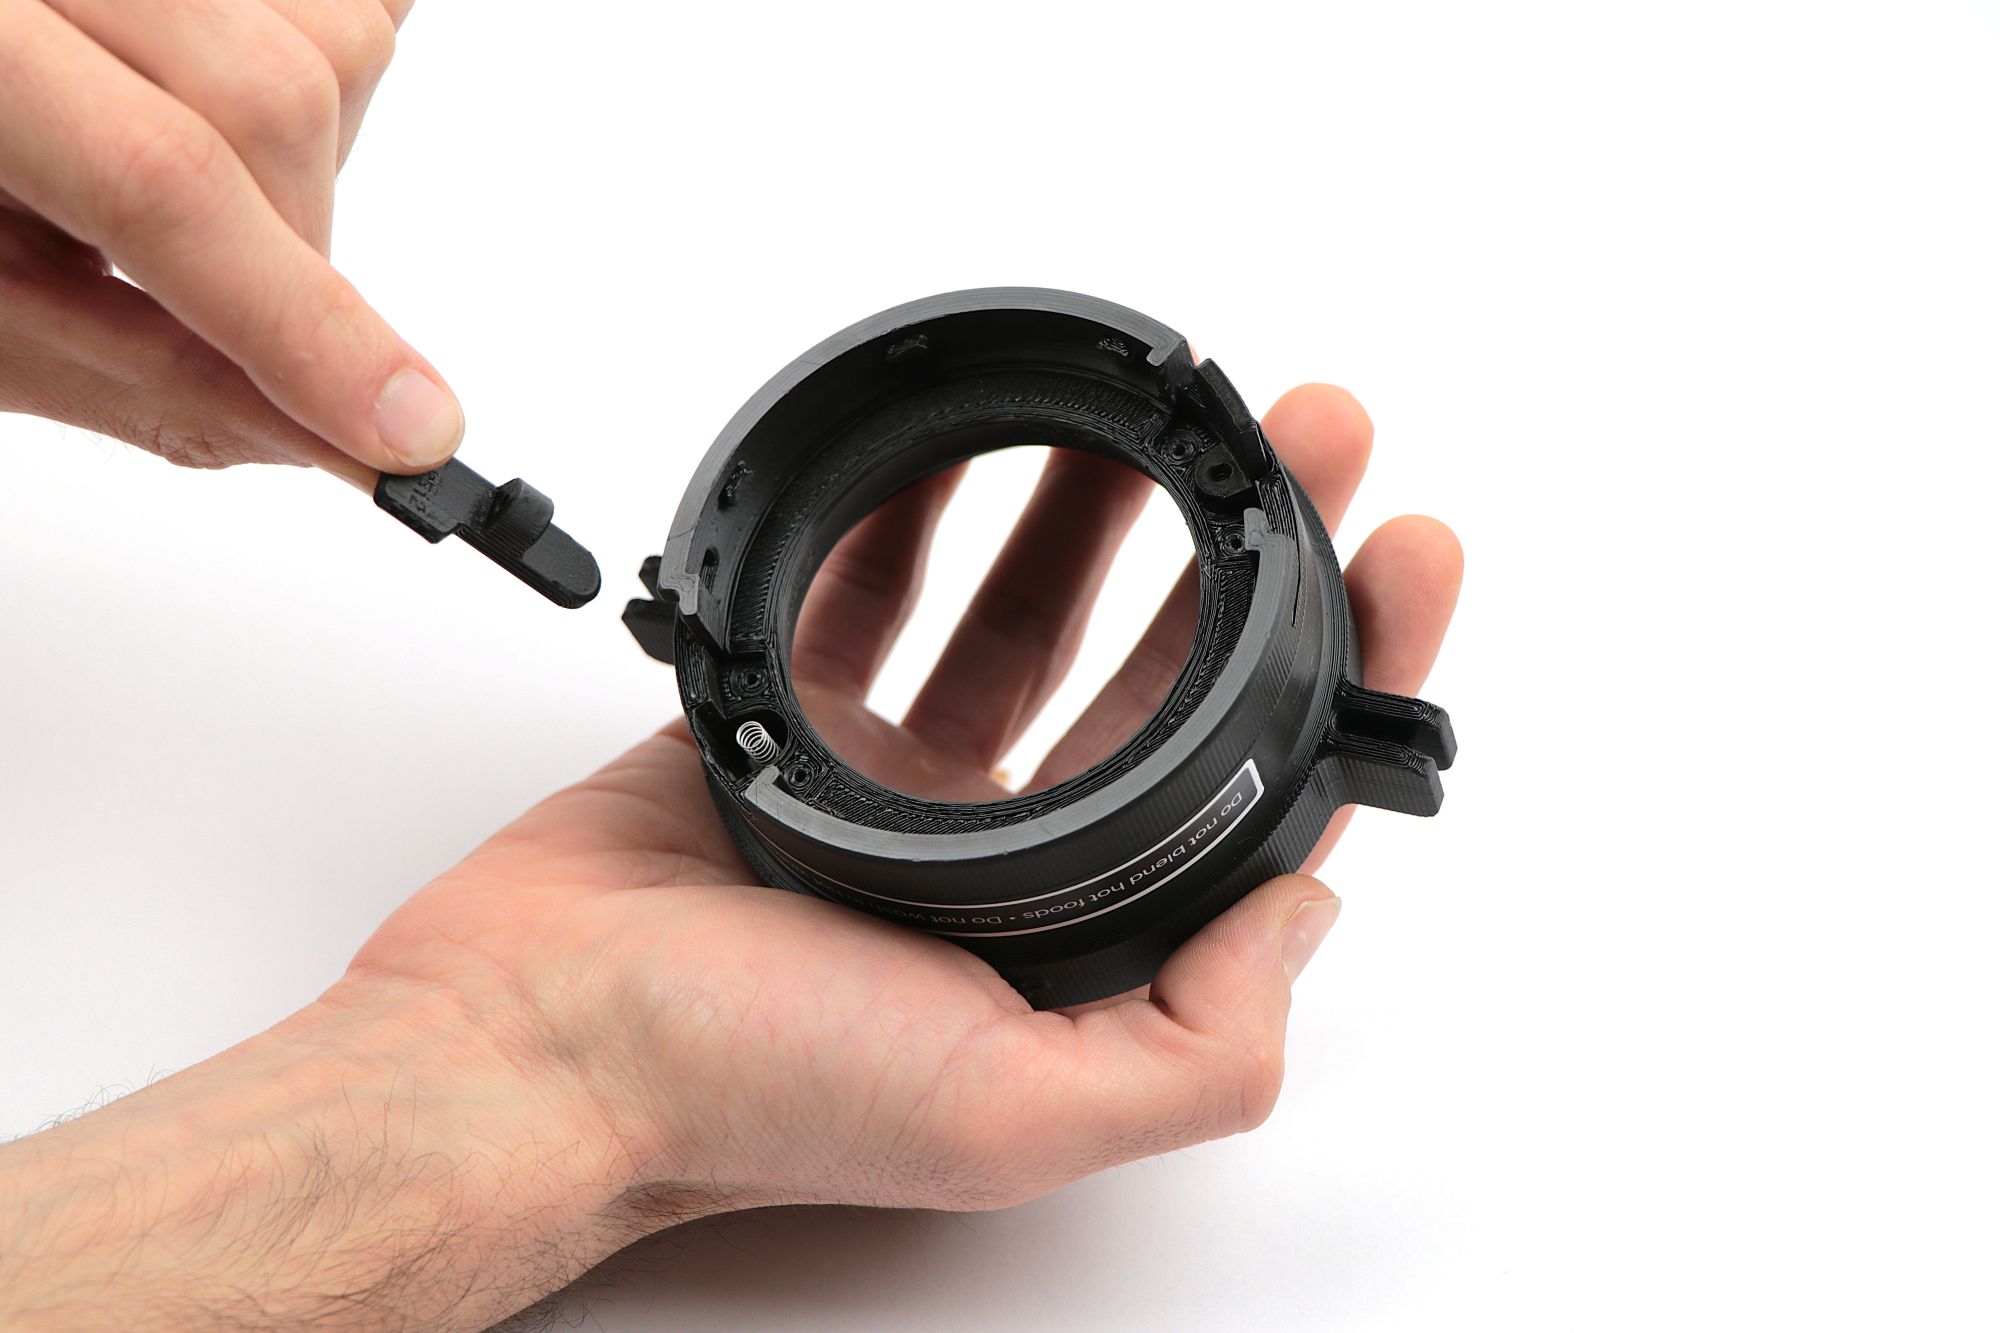
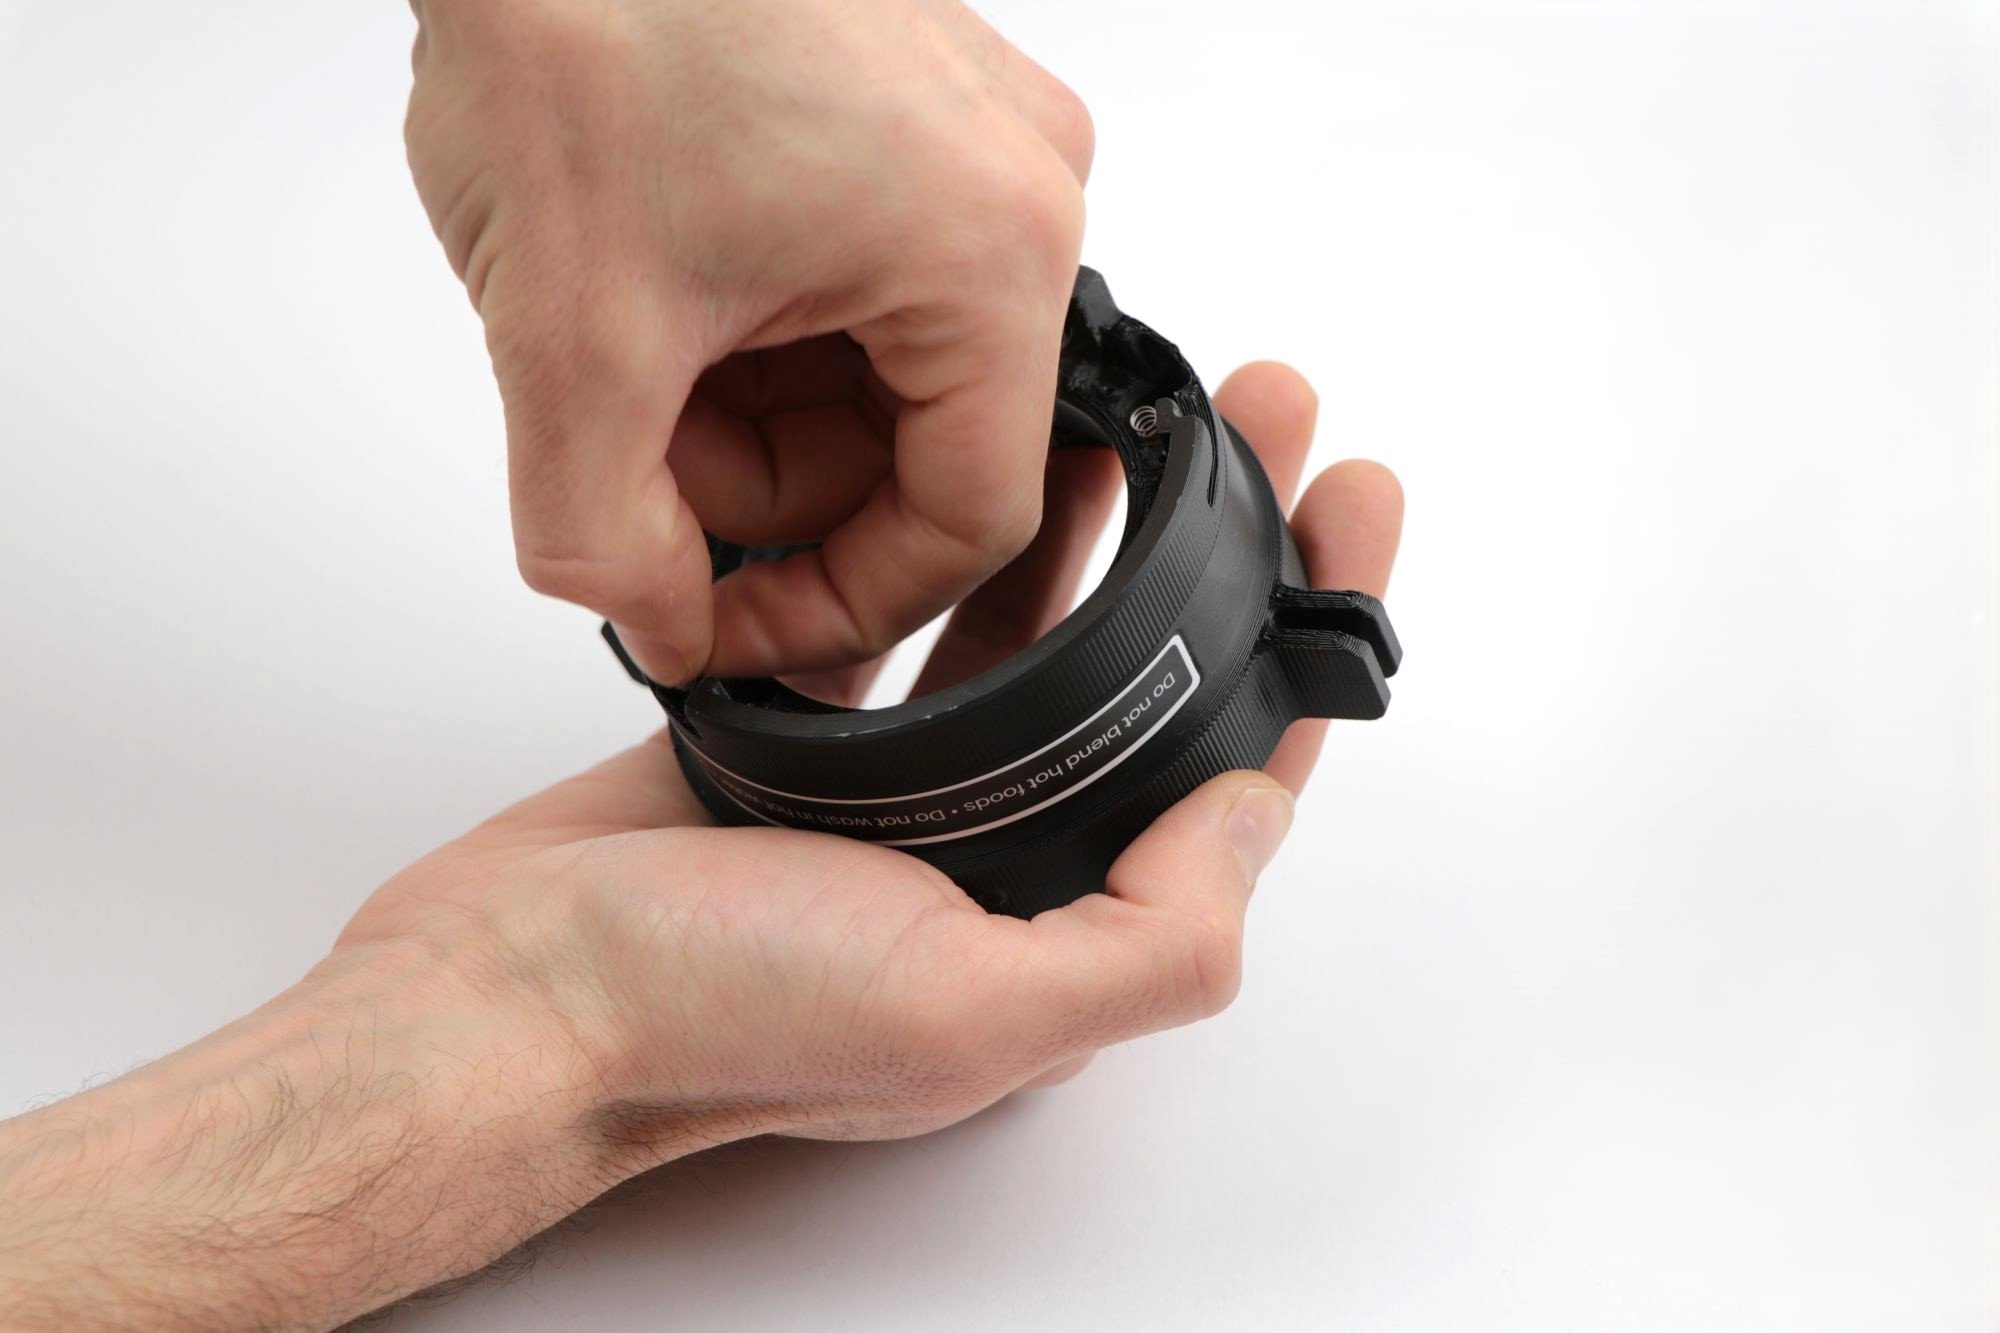
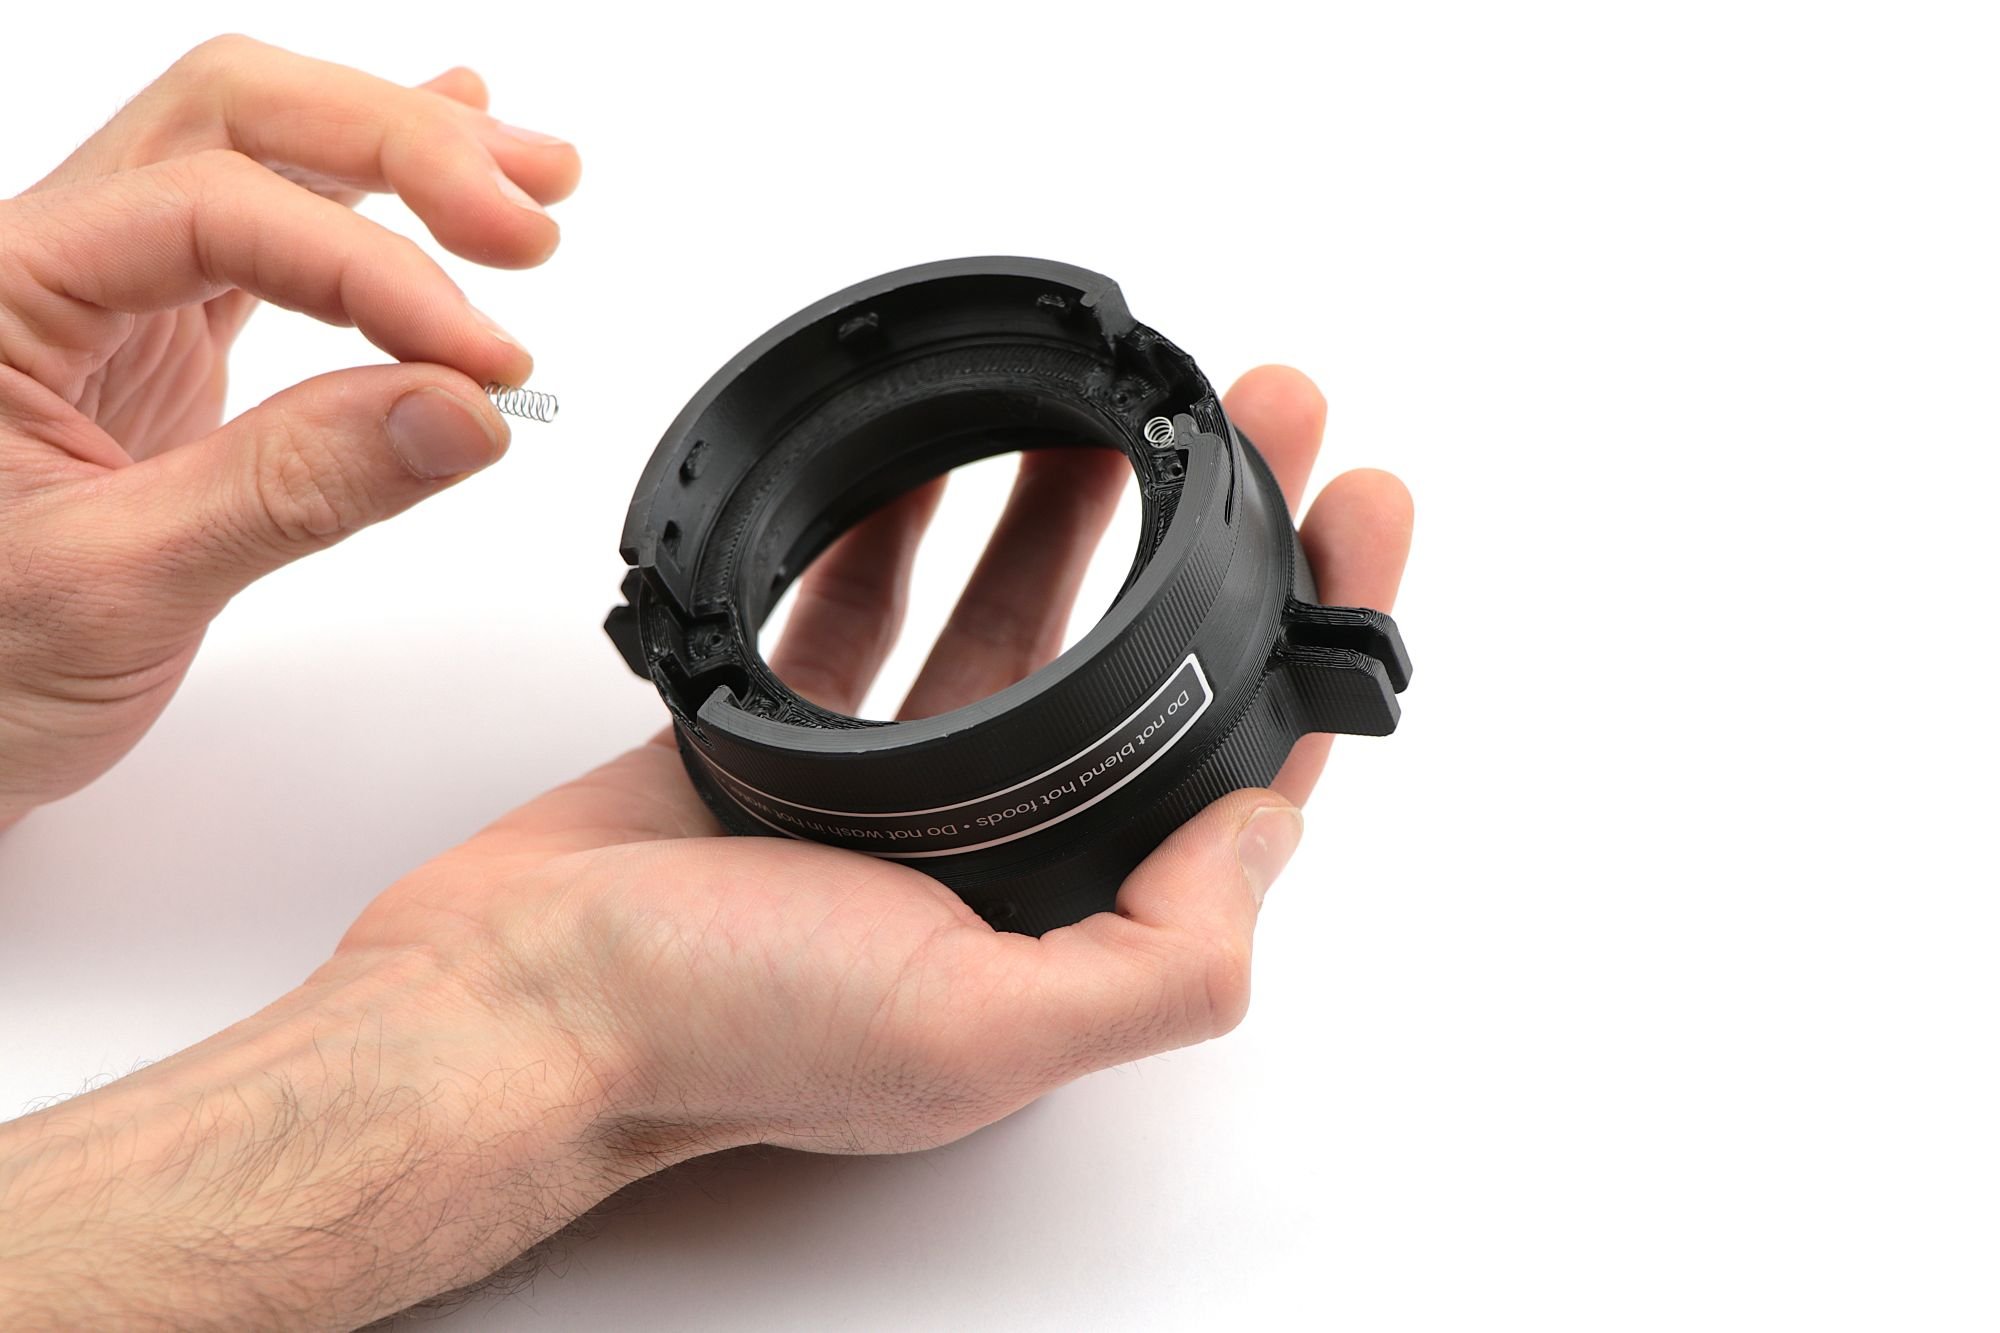
Step 6 - Remove the Jar Sliders and Springs
- Locate the jar sliders positioned underneath the stoppers.
- Lift each jar slider out of the blades head frame and set them aside.
- Remove the springs located beneath the jar sliders and place them aside for reassembly.
Tip: Use tweezers or pliers to safely remove and reinstall the small springs.
Cleaning and Inspection
With the blades head fully disassembled, you can clean all parts thoroughly. Remove any residue or buildup using water, a soft brush, or a cloth. Do not use water hotter than 40 °C, as higher temperatures may affect the materials.
Make sure all components are completely dry before reassembly.
Take a moment to inspect each part for signs of wear or damage, especially the seal, springs, and moving components. Replacing worn parts helps ensure reliable performance and extends the lifespan of the blades head.
Reassemble the blades head by following the steps in reverse order.
![]()
Taking care
Taking care of your re:Mix components helps it last longer and keeps it doing what it was made to do. Every time you clean, maintain, or repair it, you’re helping reduce waste and giving the product a longer life.
At Open Funk, we believe products should be used, cared for, and kept in motion — not thrown away. Your effort makes a real difference.
Thanks for being part of it.
— Open Funk